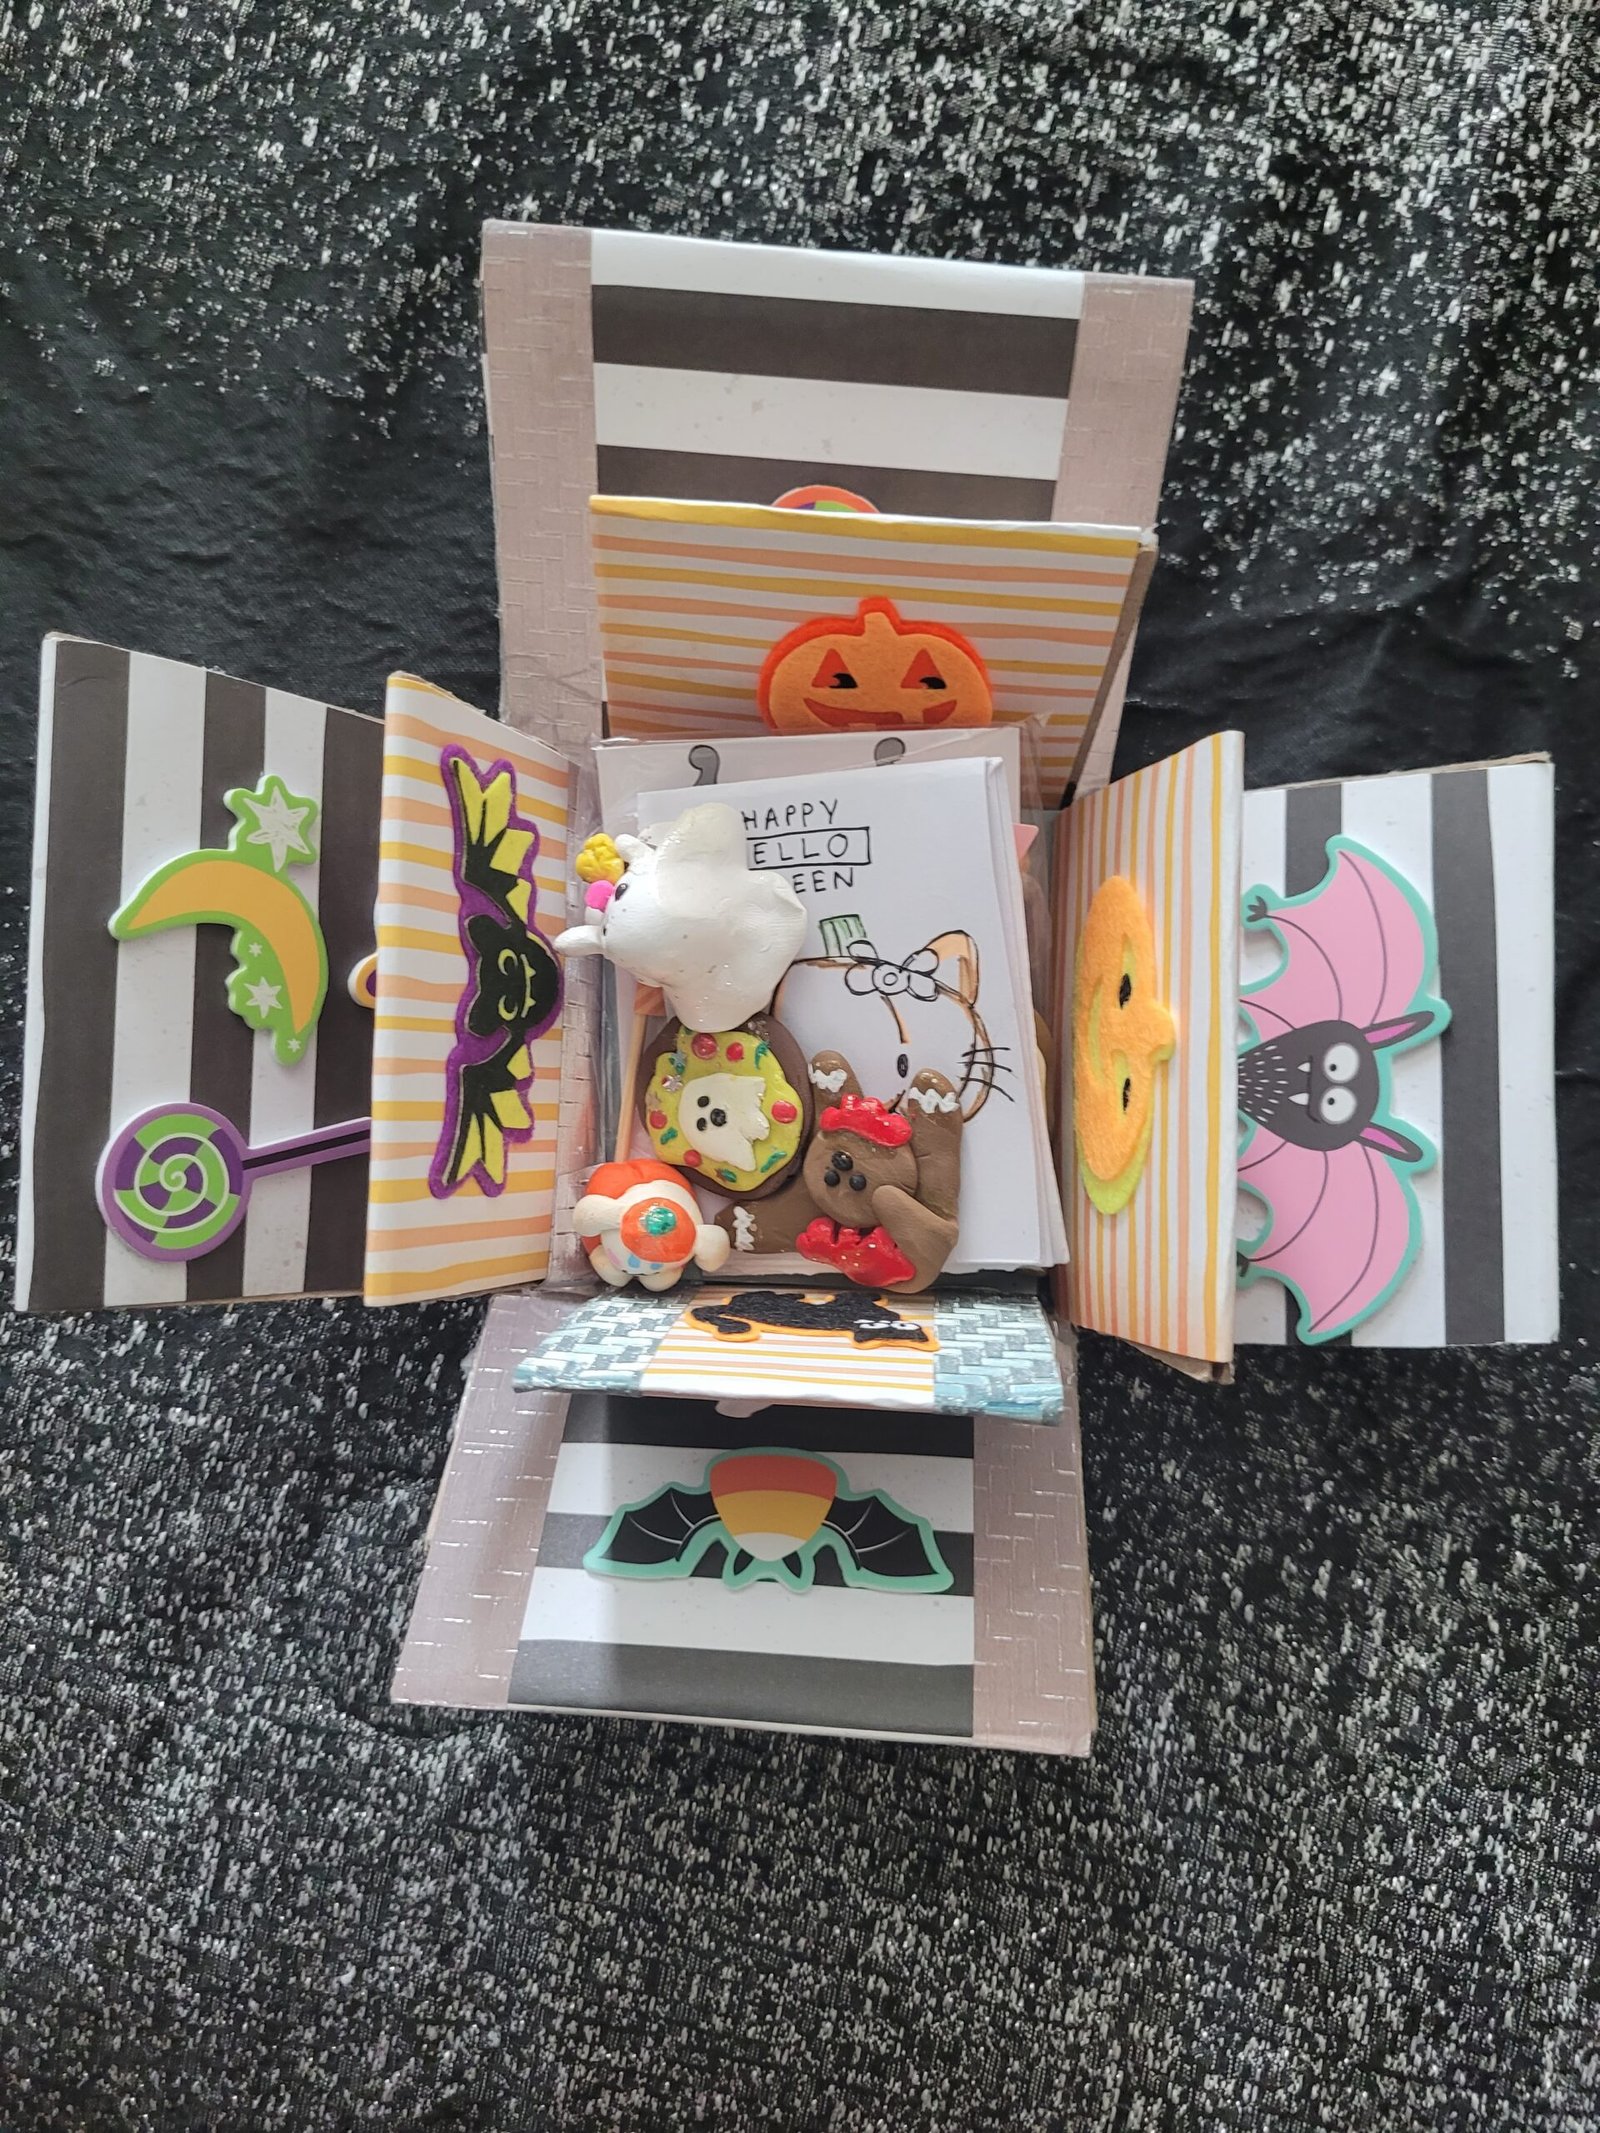
On occasion I like to make Halloween exploding boxes for my Daughter who put me on to the whole concept when she was younger and we used to craft together. The whole concept she introduced me to was Kawaii Exploding Boxes, so I always try to keep it Cute. I’m not a precise hard core artist admittedly. I craft to have fun, relax and find enjoyment. So I advise if you want a precision box, by all means utilize a ruler. I never do. My whole objective is to make sure it all fits together and that the cover will fit over the box and come off easily. My boxes aren’t precision made, but they still work out.
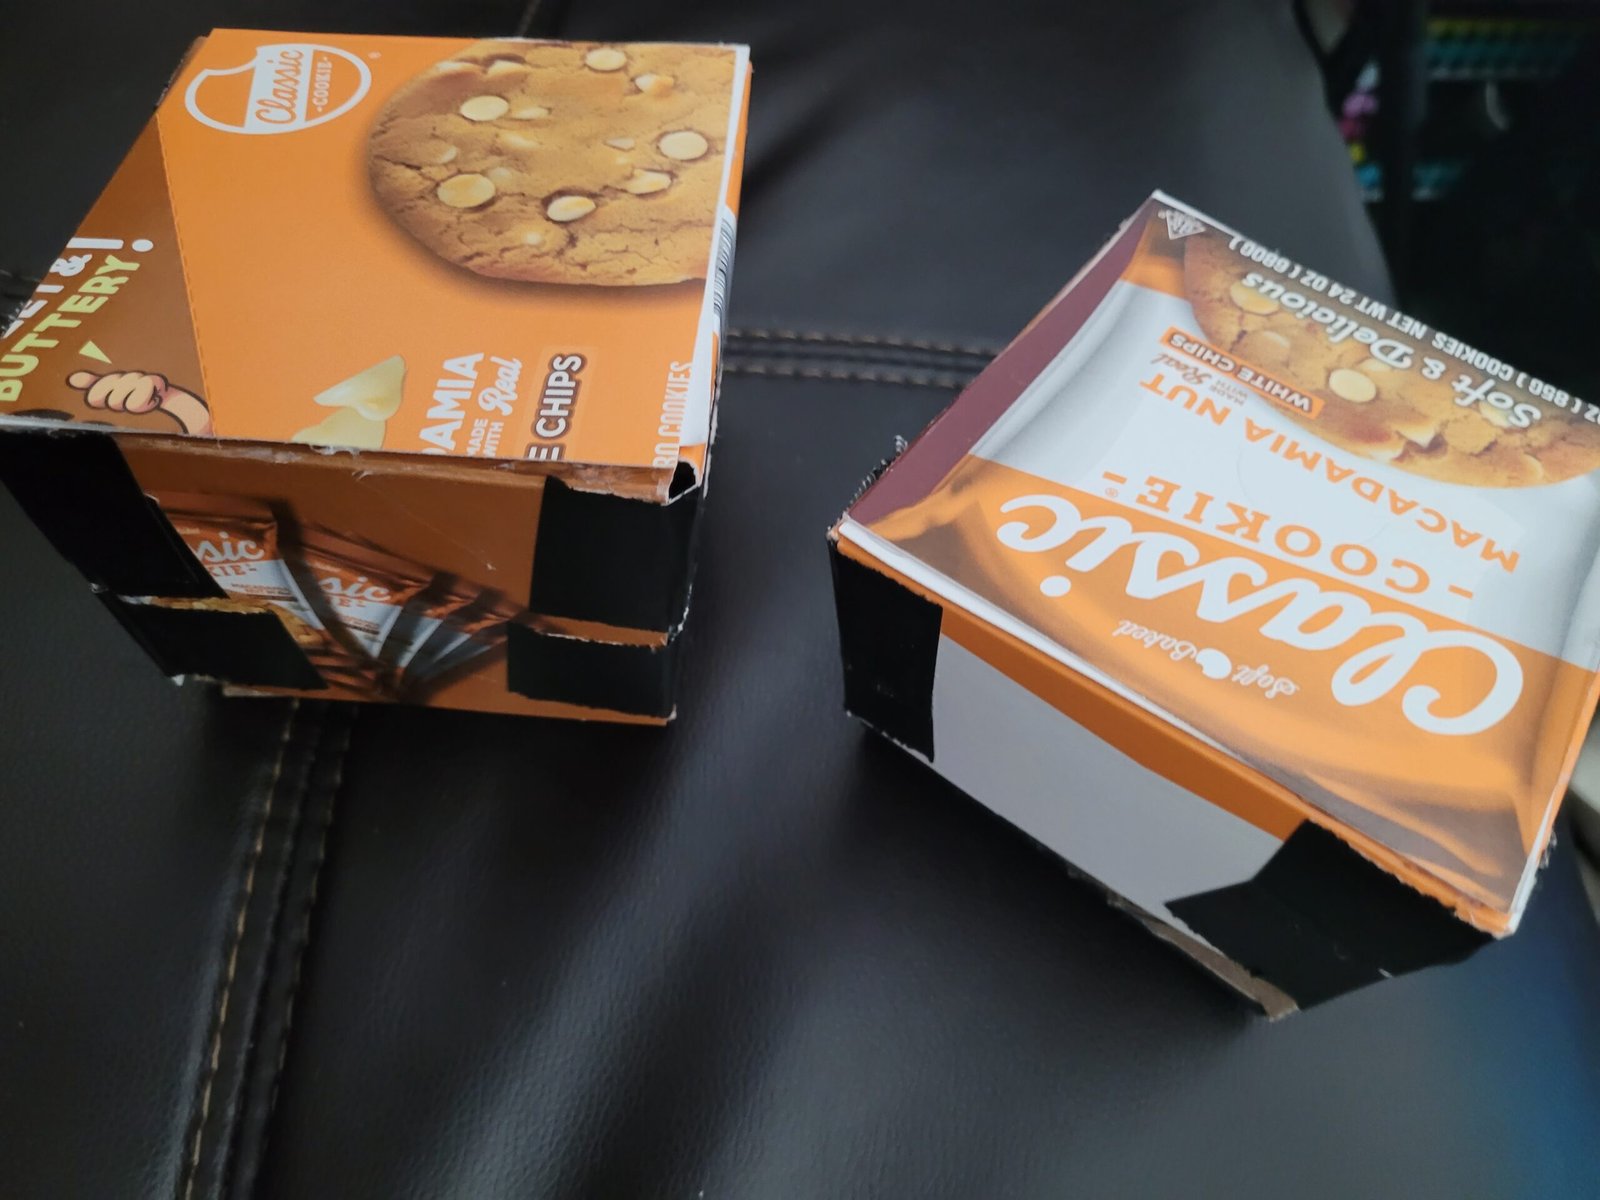
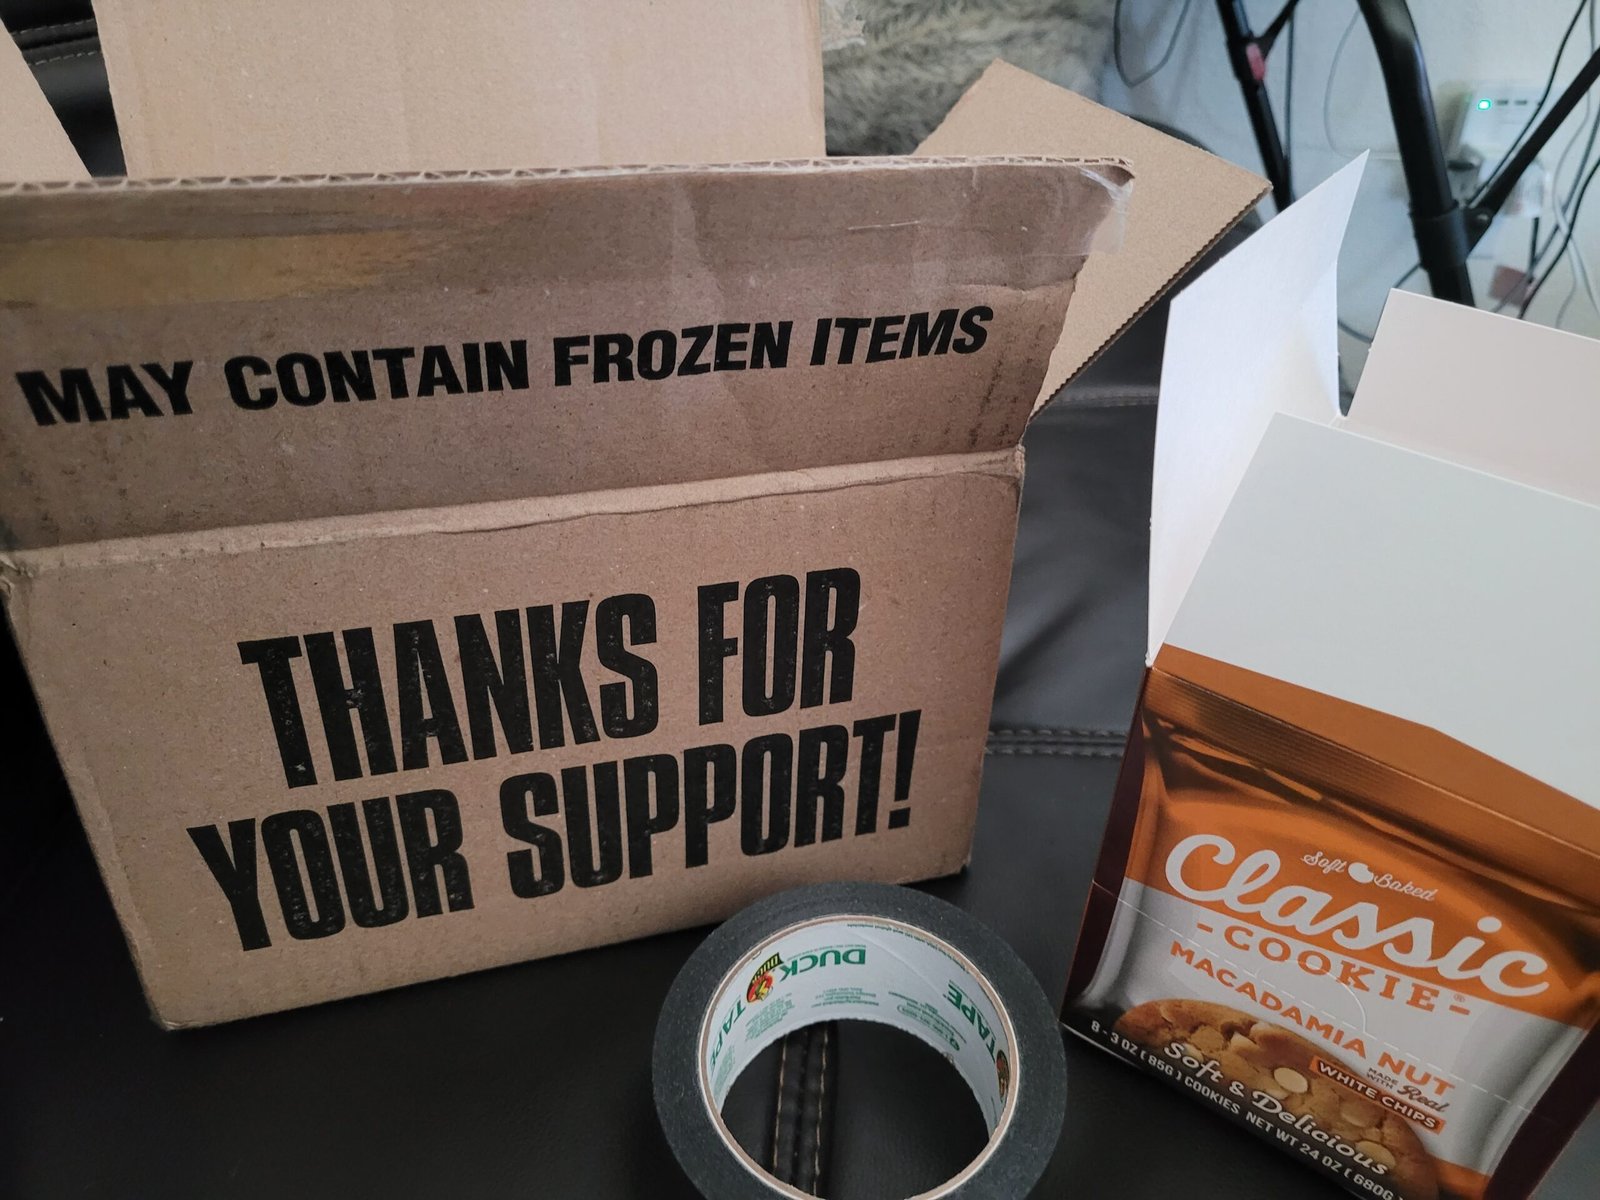 First and foremost find a box or cardboard or poster board to create a box out of. I used Duct Tape, but you can use your tape of choice as long as it sticks efficiently to hold the box in place.
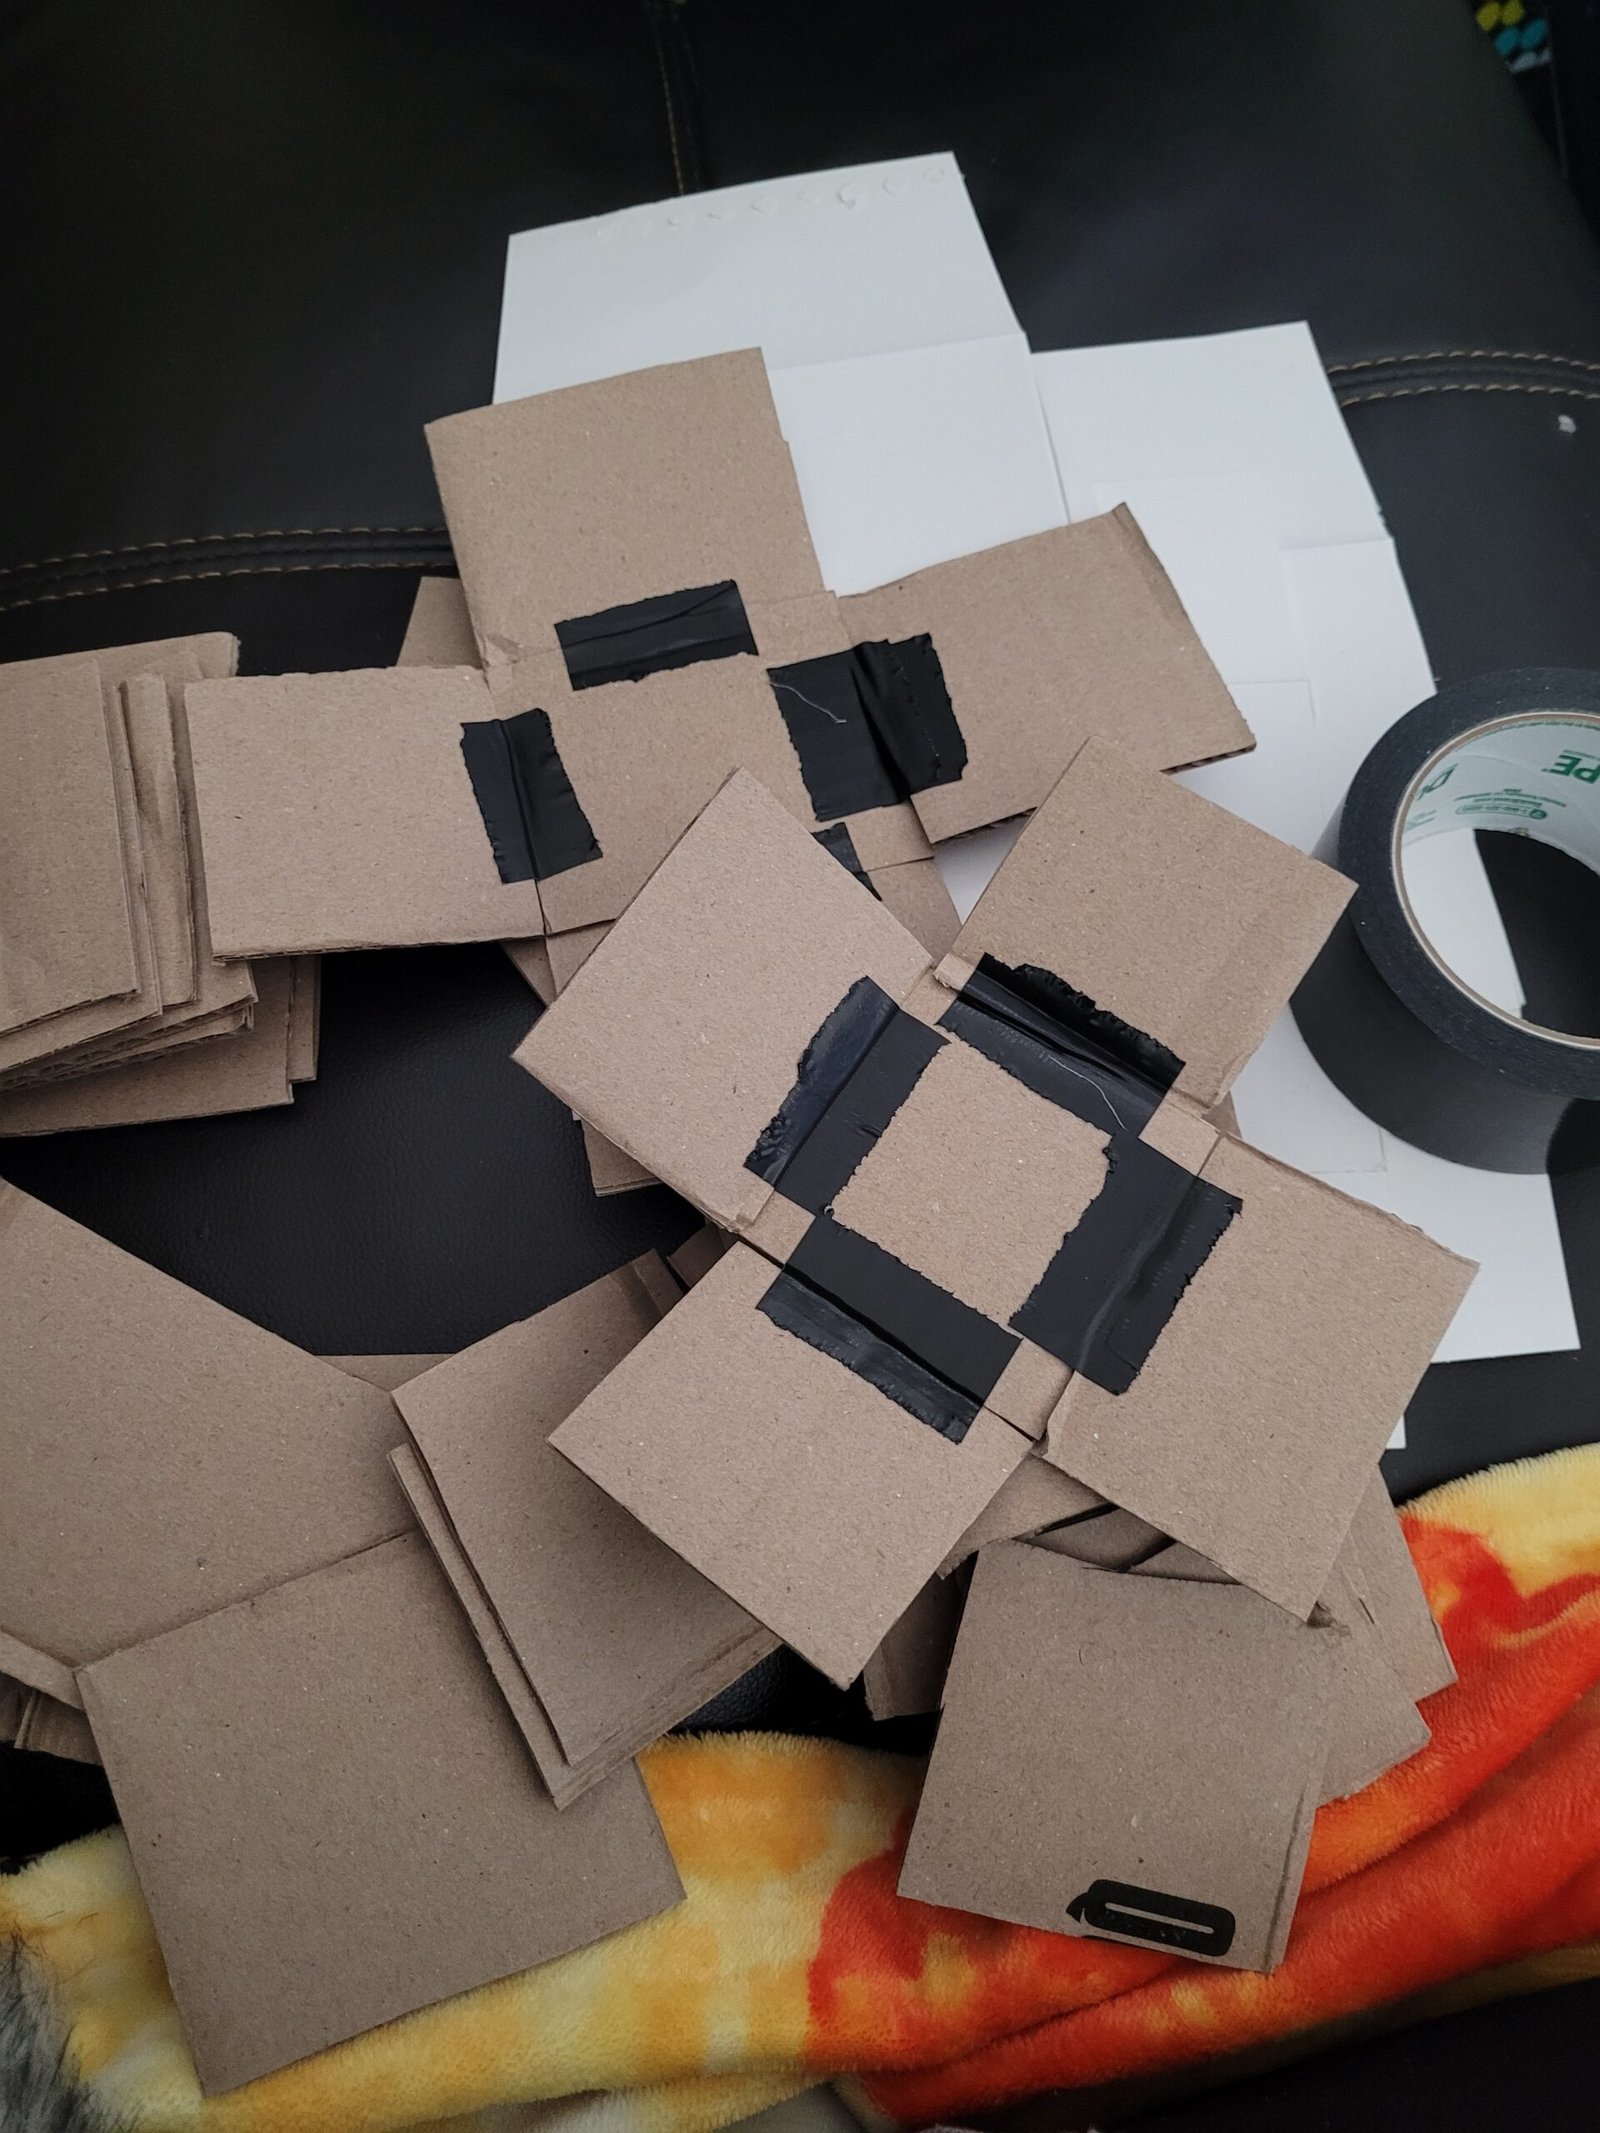
Next, form your box however you would like, whether it’s by drawing the design out and measuring it with a ruler or maybe as recklessly and freelance as I have done, by cutting out a square and placing it down on the cardboard and cutting it out to make sure it matches up 4 times and then tape it. There are so many ways to do it, it all boils down to what works best for you.
Next is to create the lid by making the square a little bigger than the square / box you already made and taping 4 sides to that square to create a lid that fits your box. Now repeat all the above steps one or two more times depending how many layers you want your exploding box to have, whether you go smaller or bigger – just be sure each box can fit inside of each other according to how you want it layered. I always do 2 layers, but one day, I might just do a 5 layer exploding box just to say I did it.
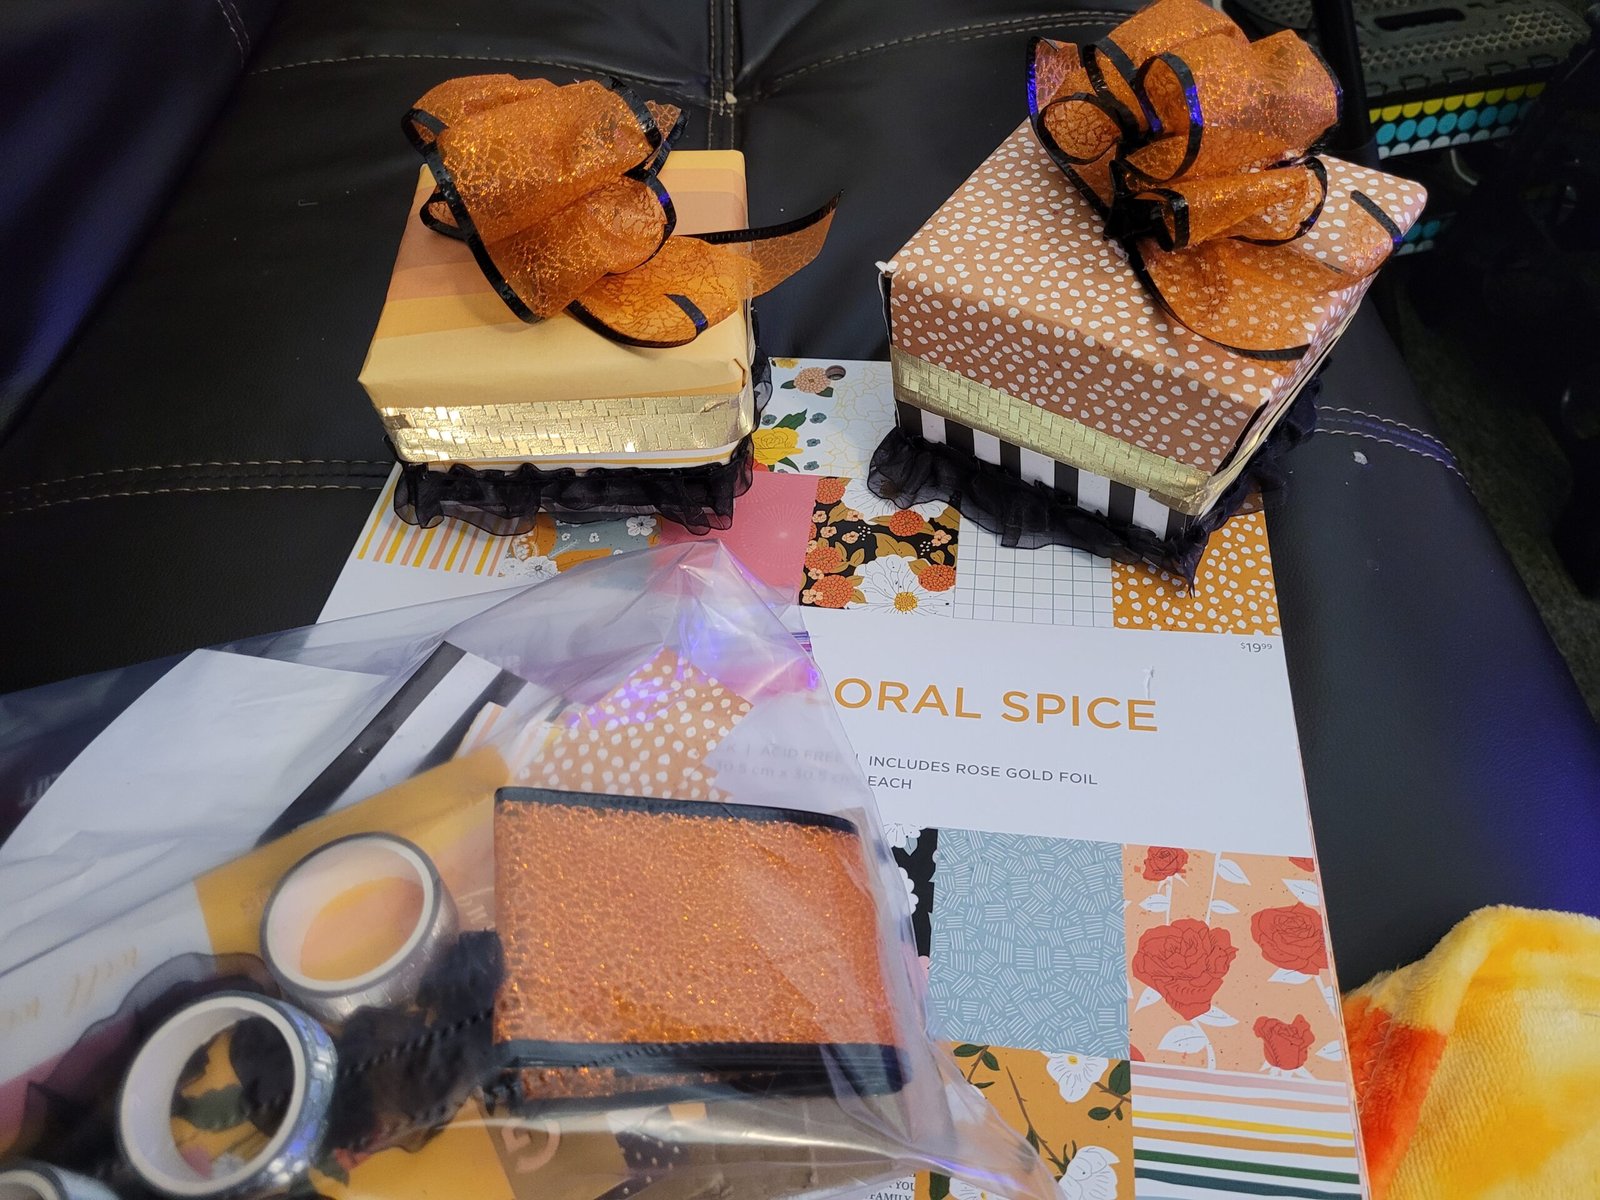
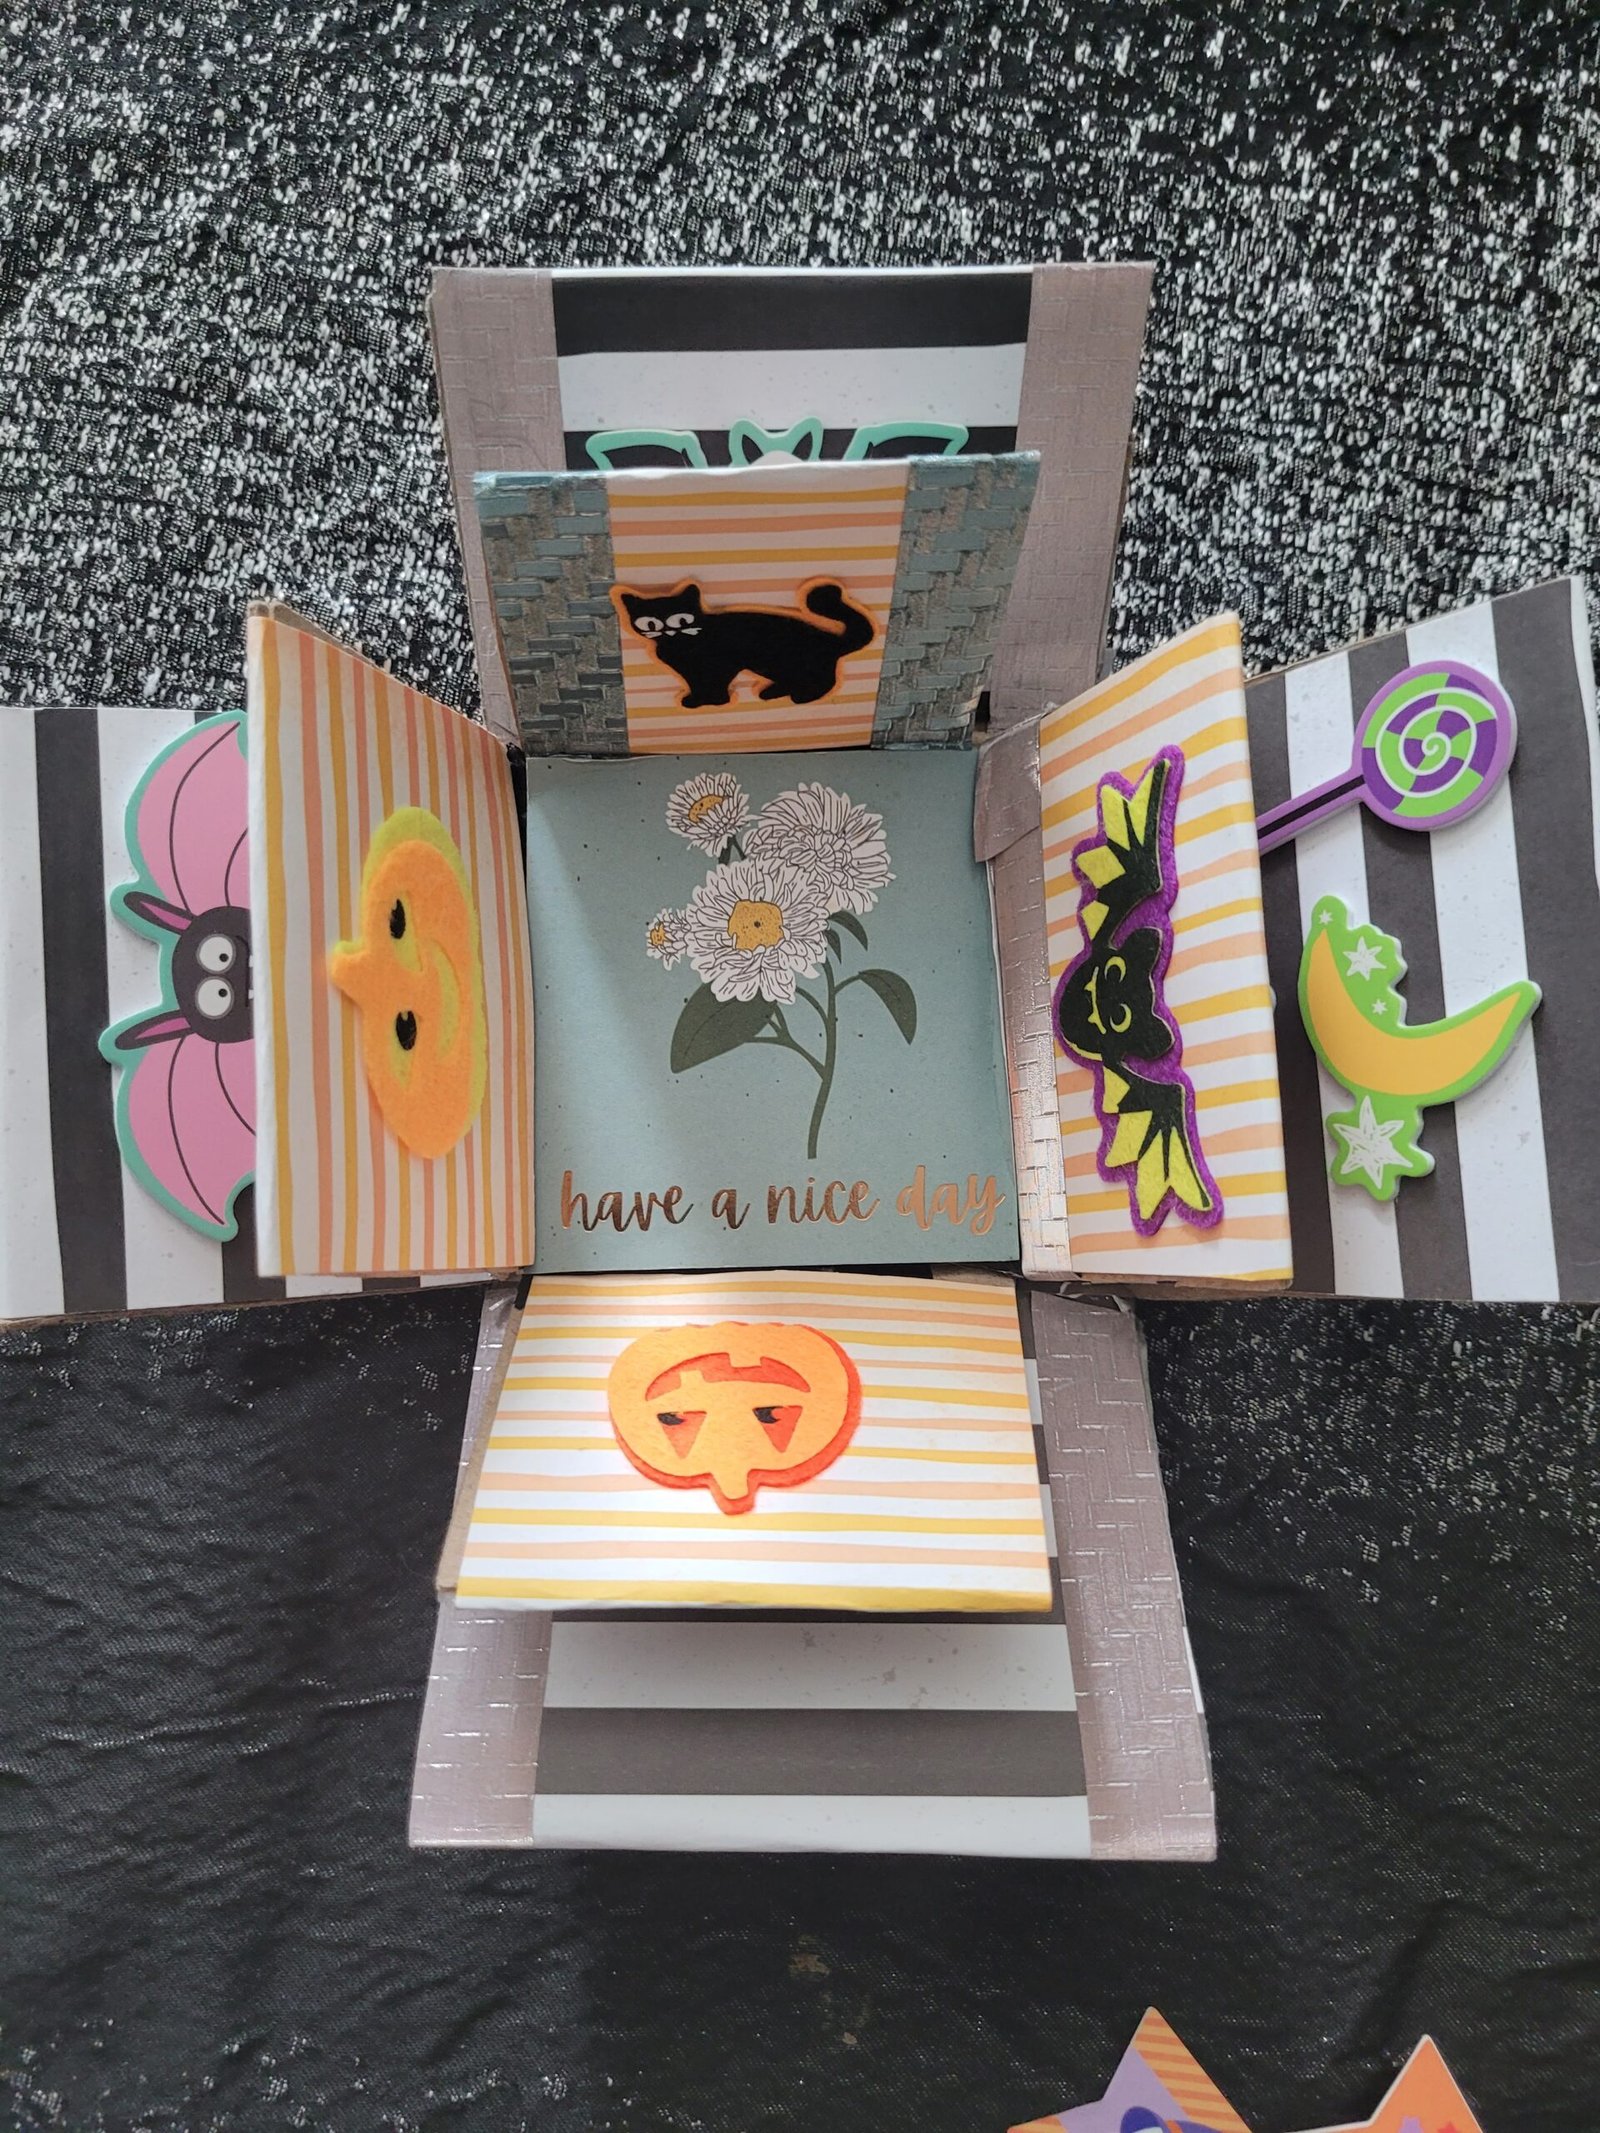
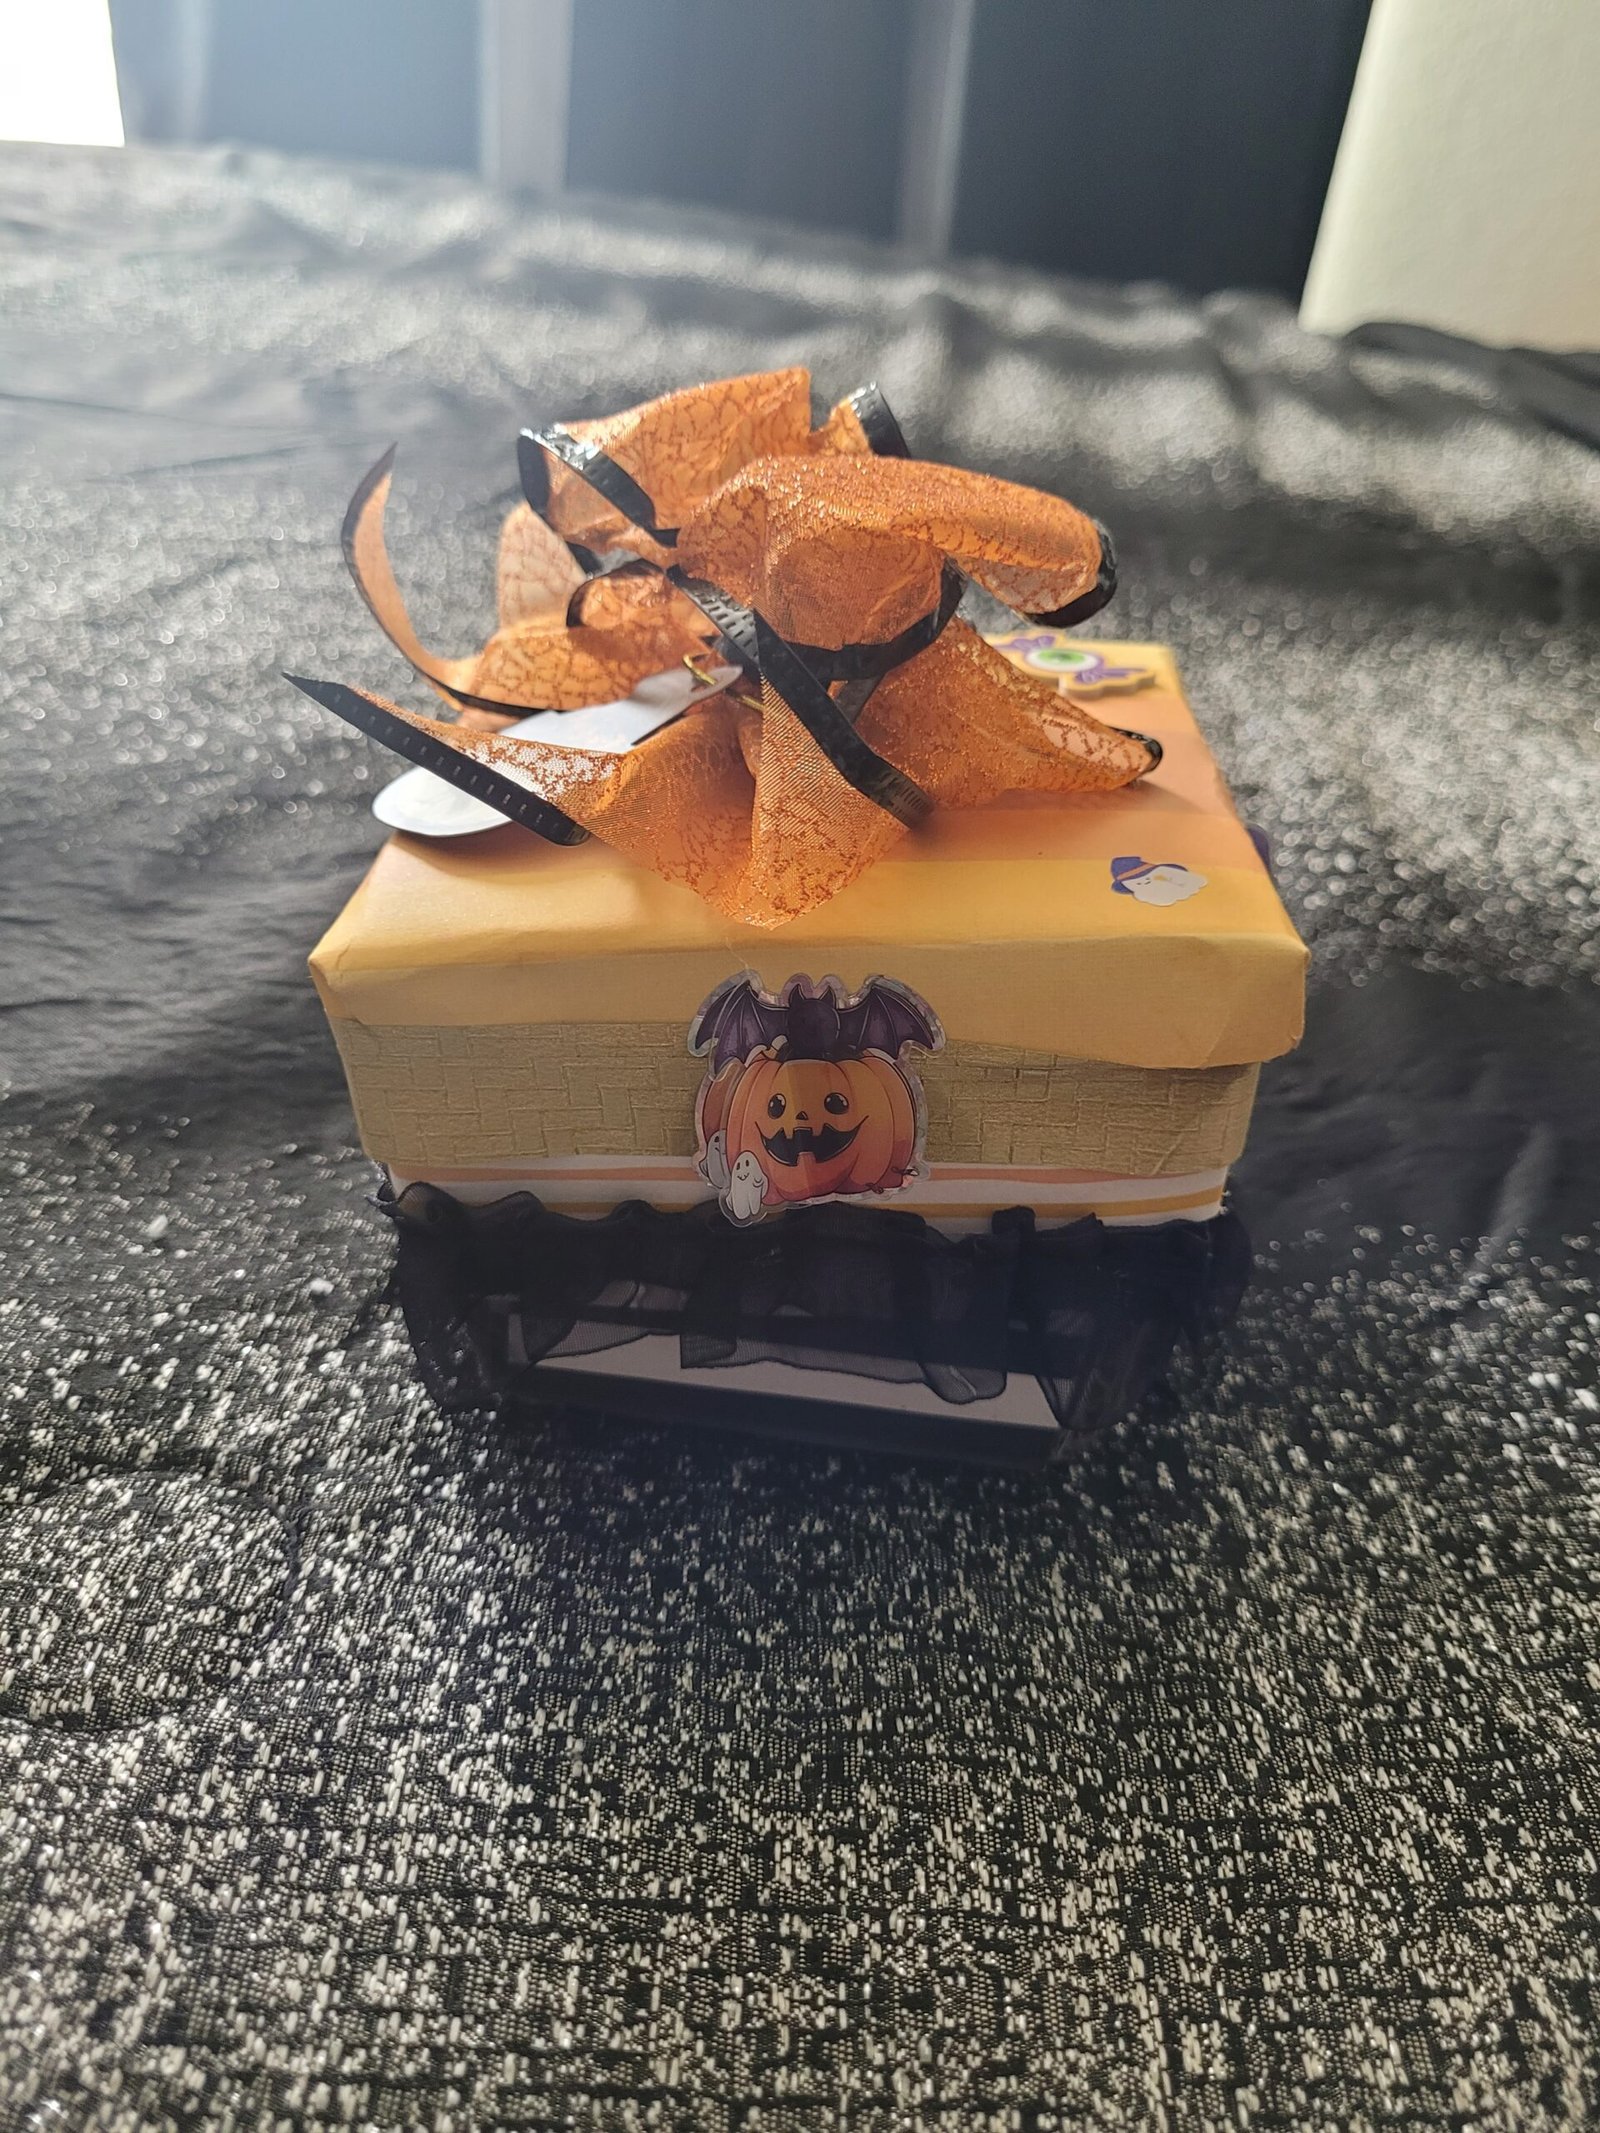
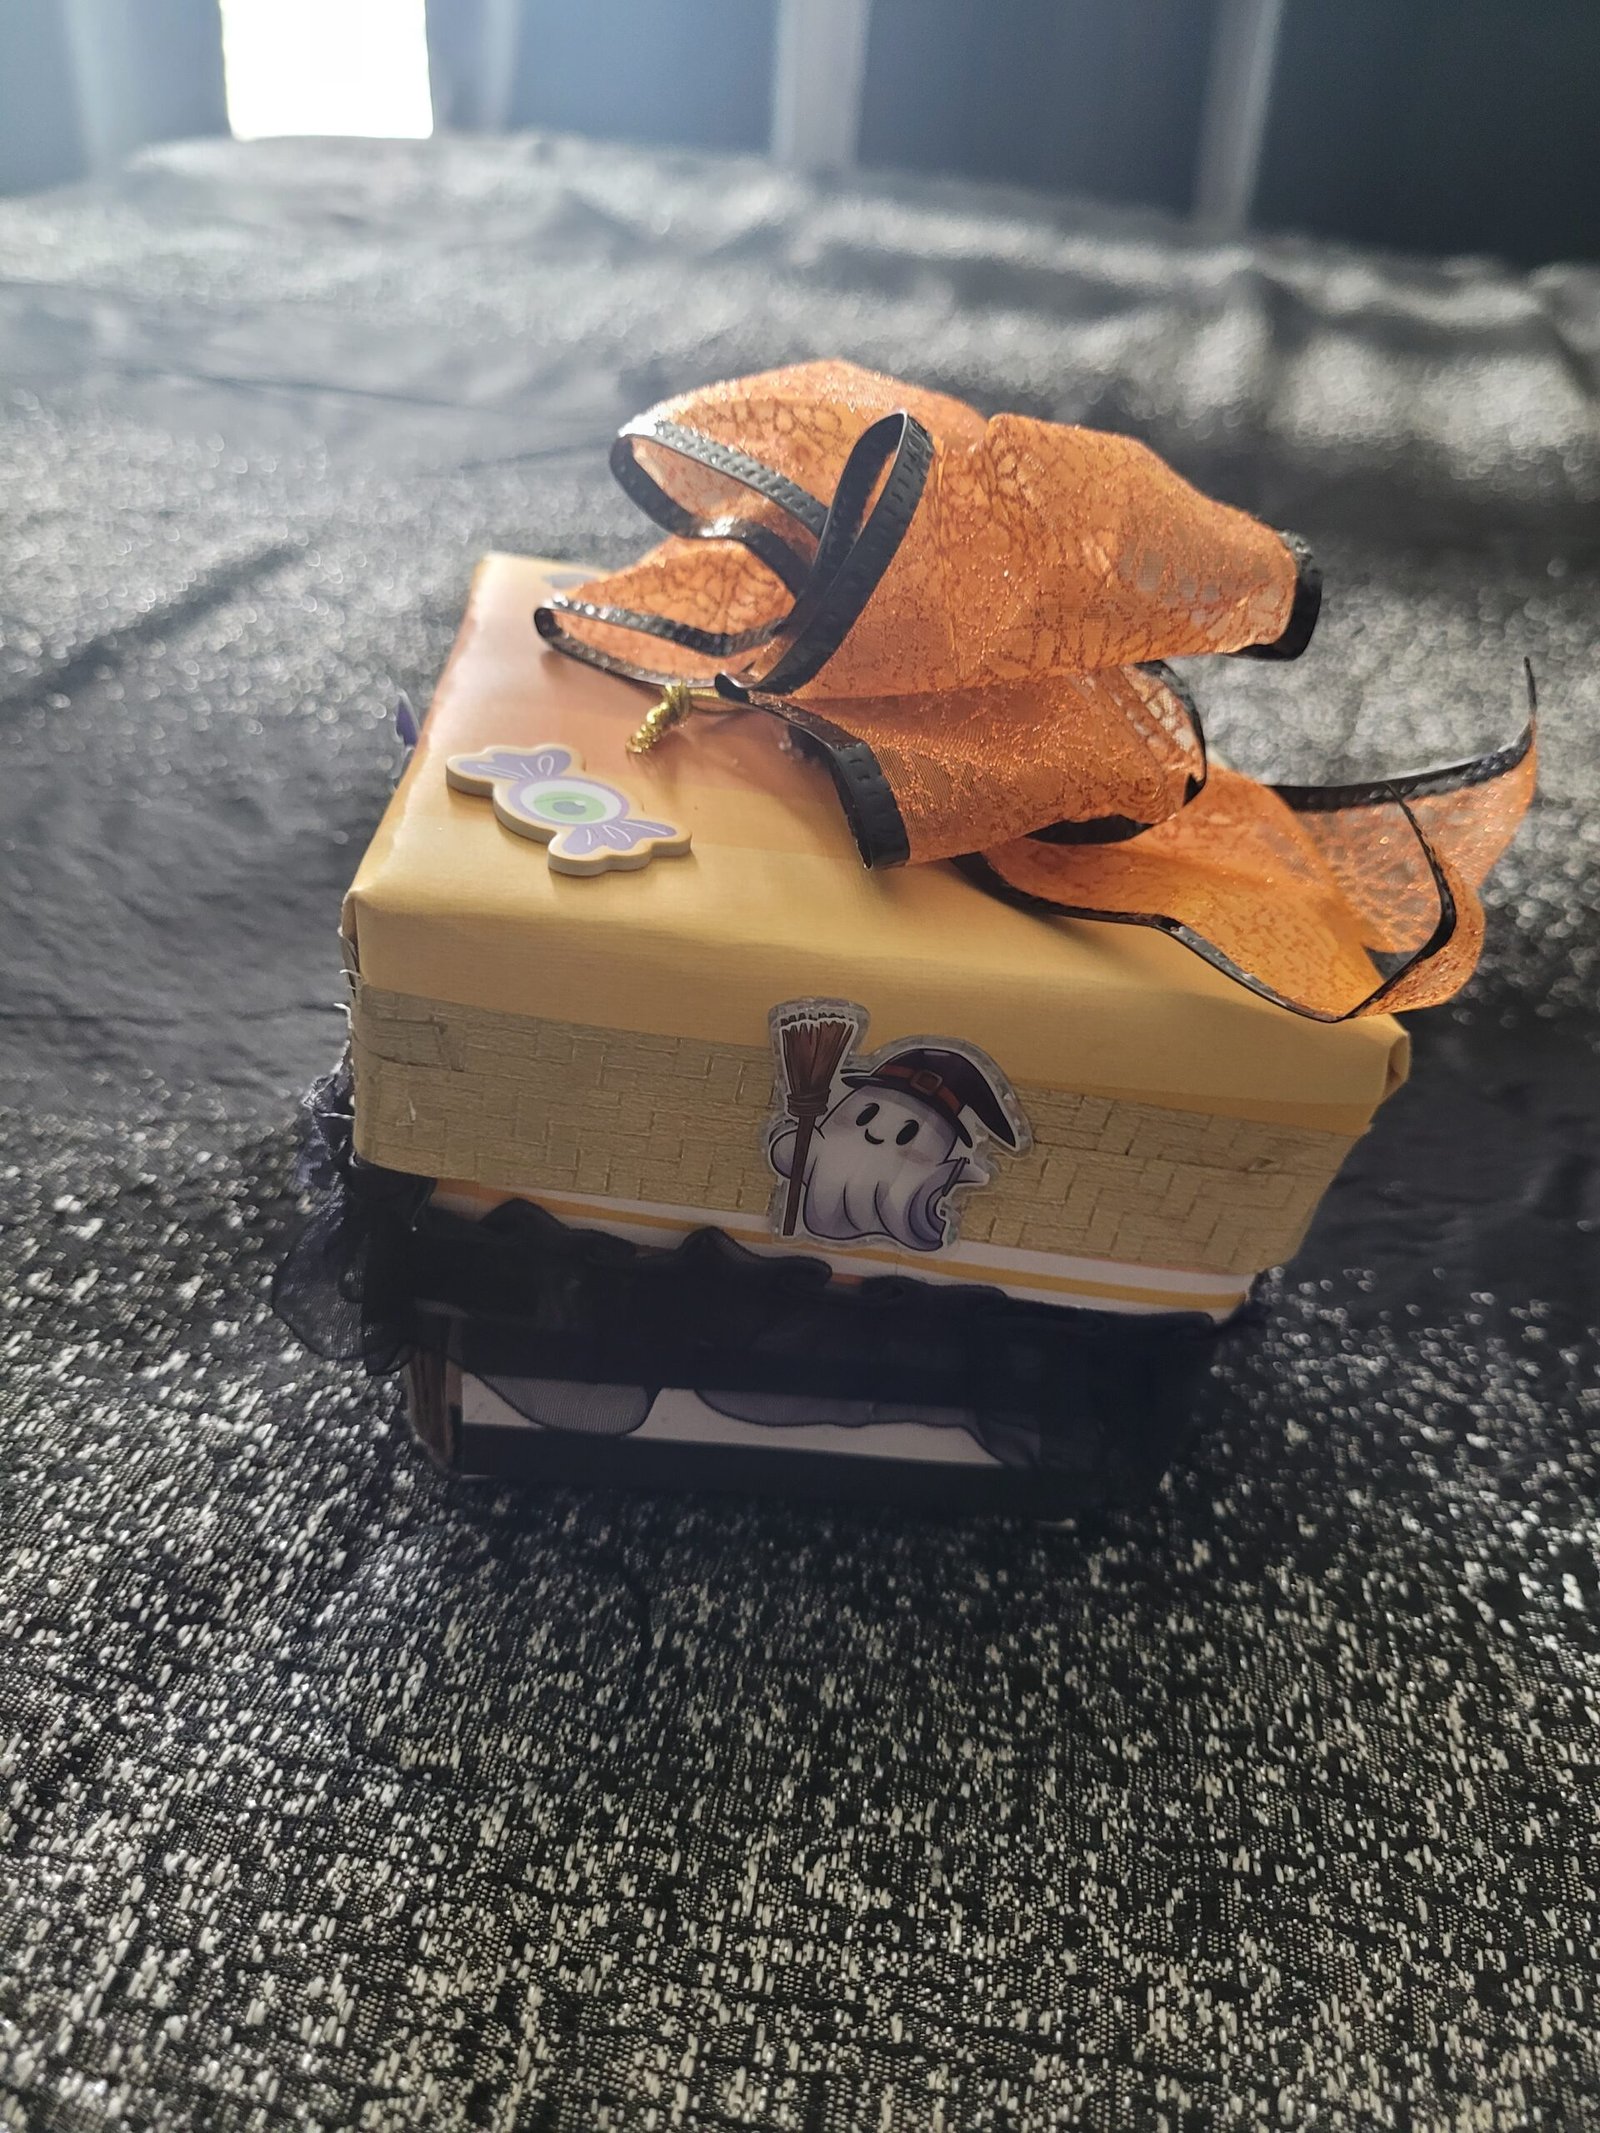
Whoo hoo! Now for my favorite part – getting to the decorating. For this I used some scrap book paper I got 2 or 3 months back from a Michael’s going out of business sale. I used some Washi Tape from the Dollar Tree as well as some wiry ribbon I made into a bow and lace I had on hand from former projects.
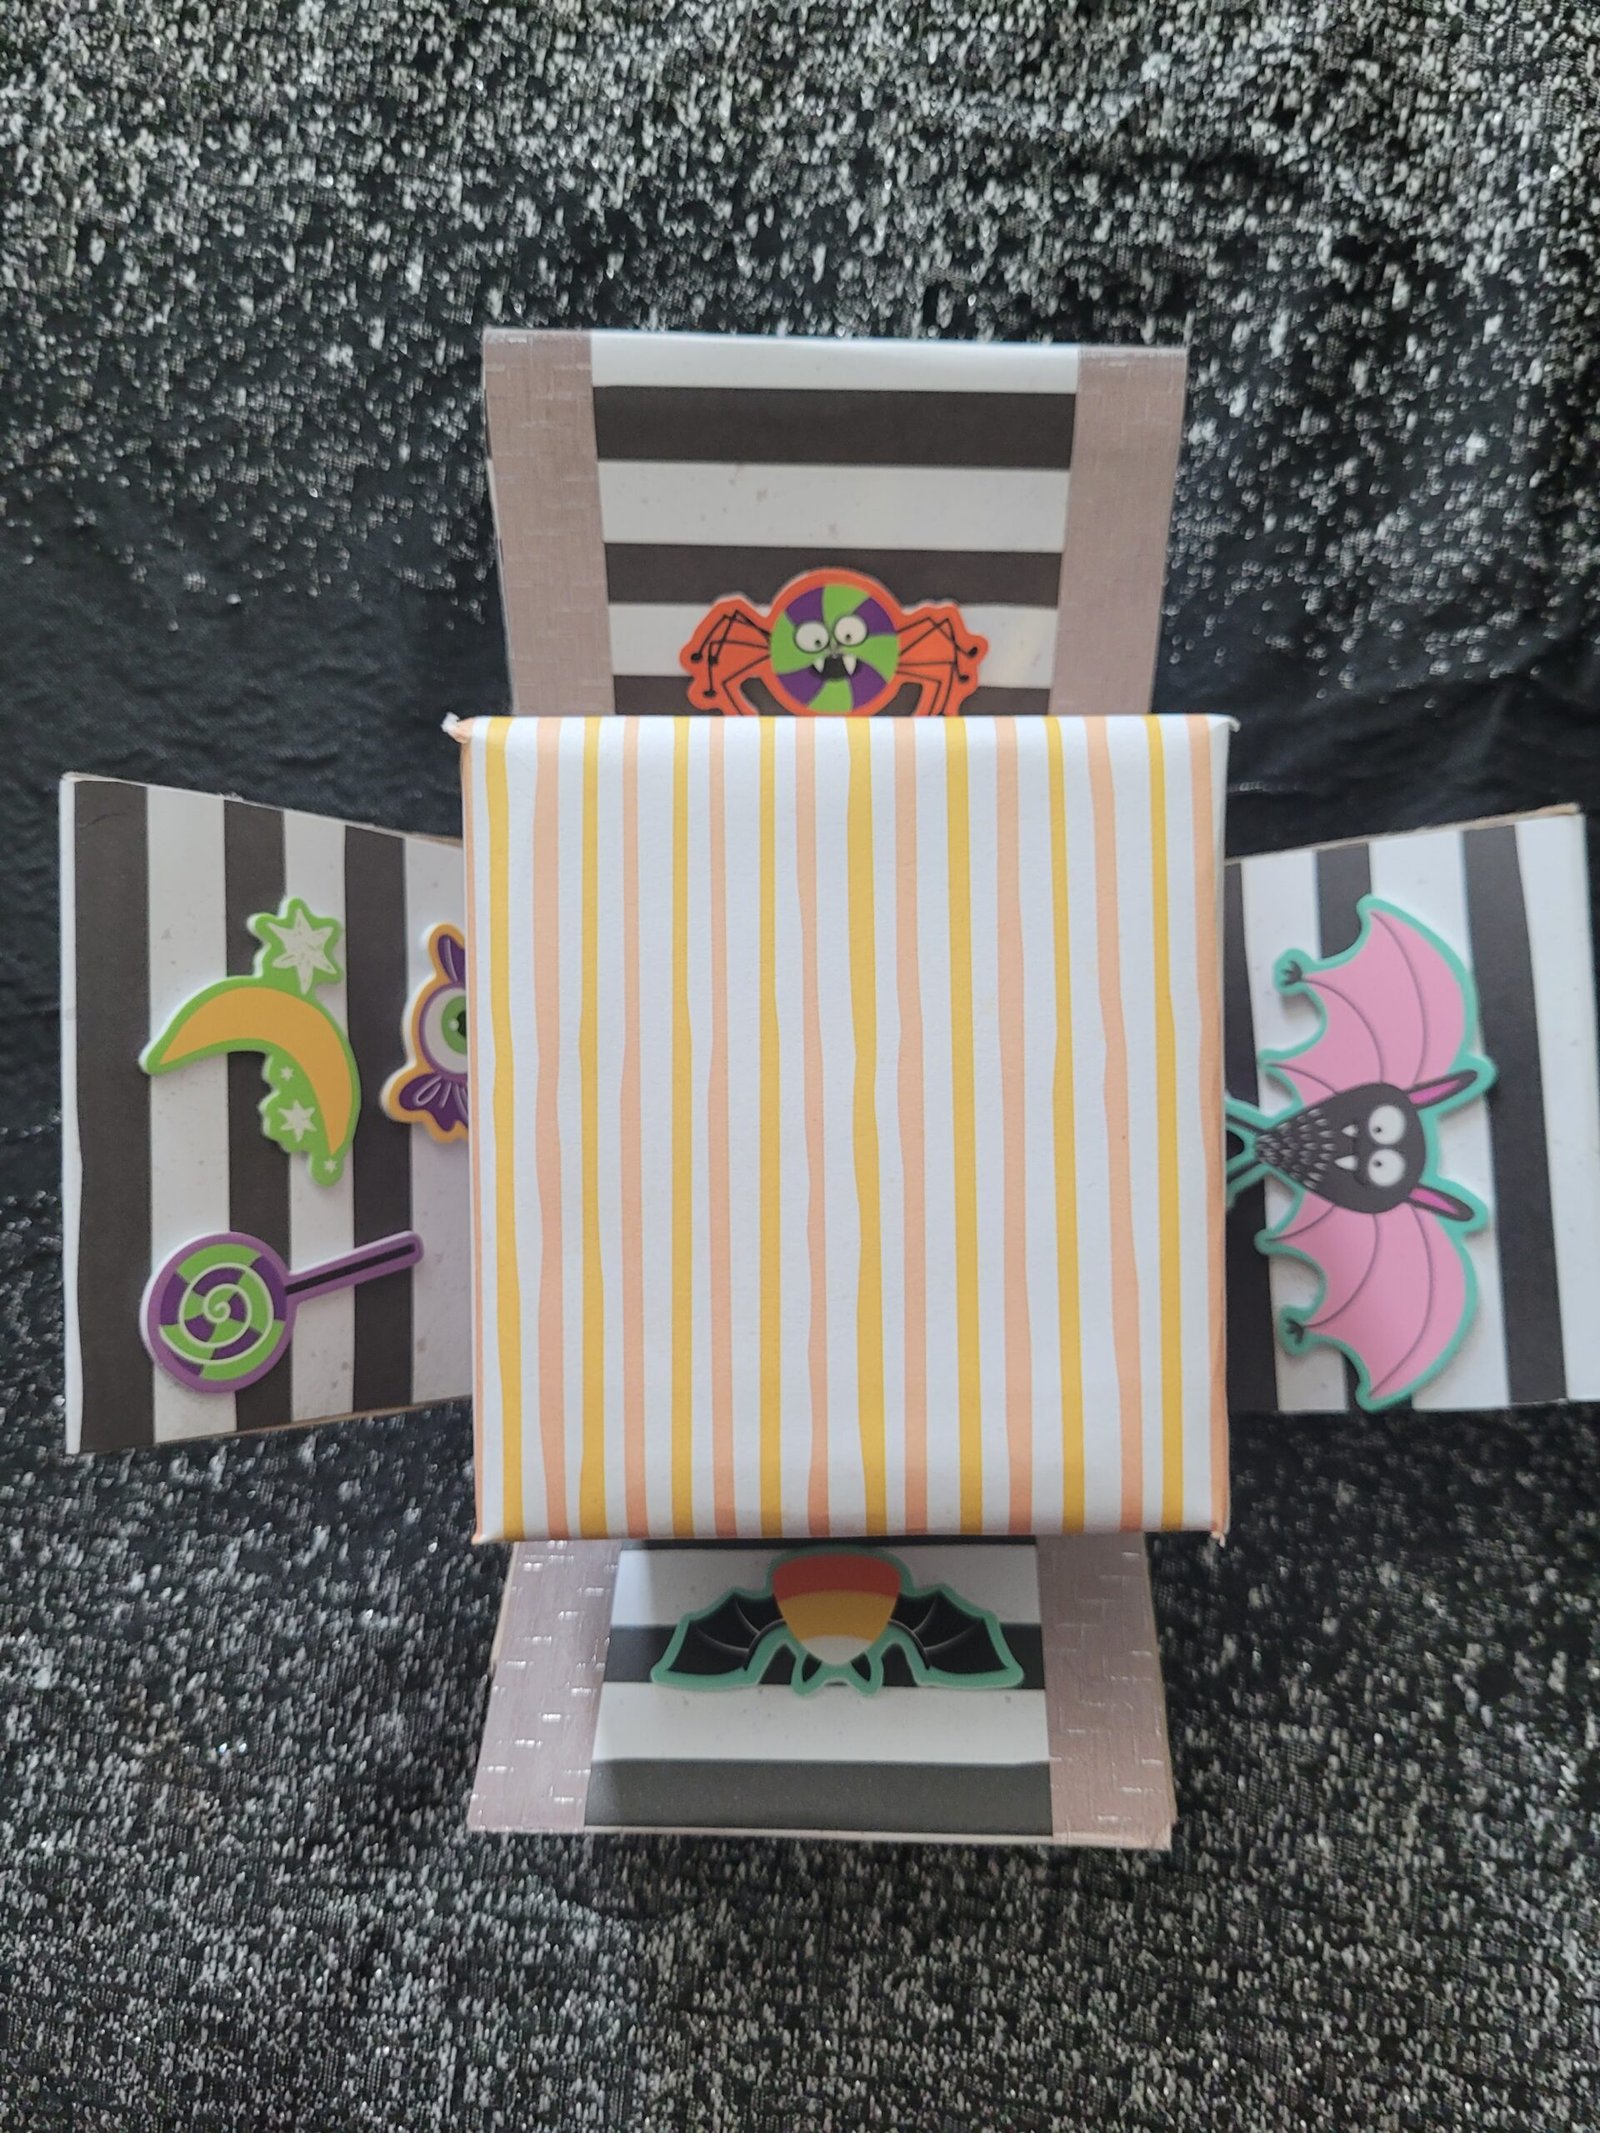
Next I added Halloween Stickers From Dollar Tree and other stickers from Daiso.
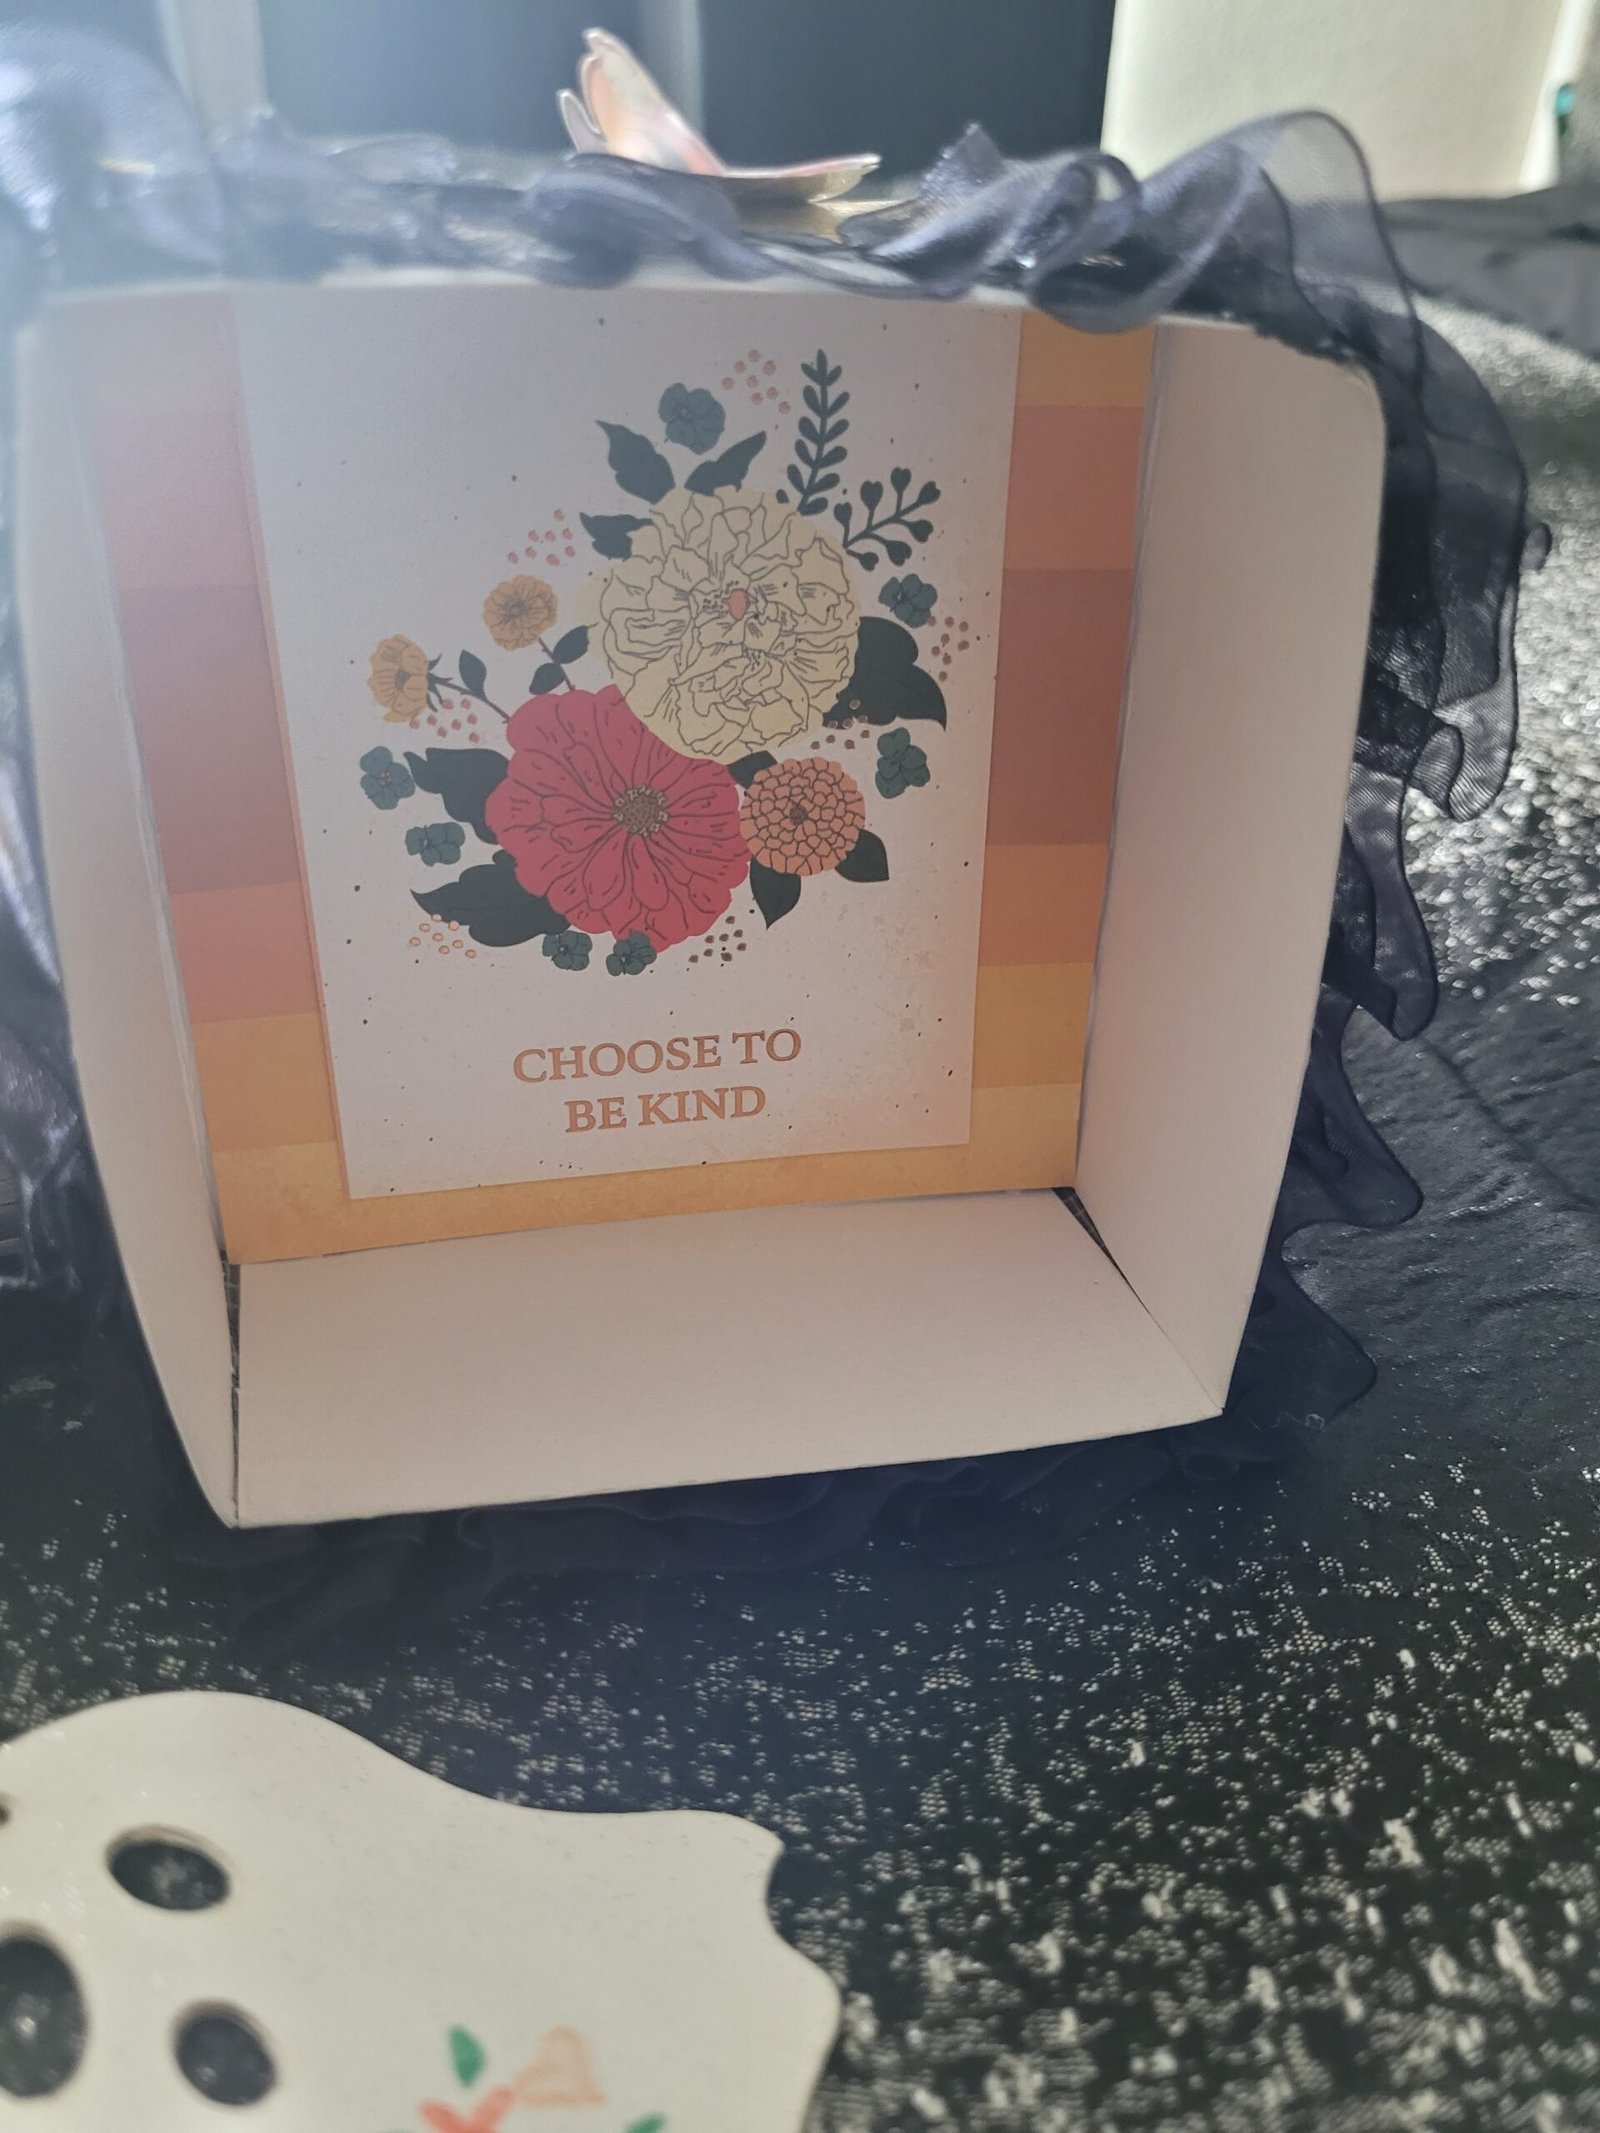
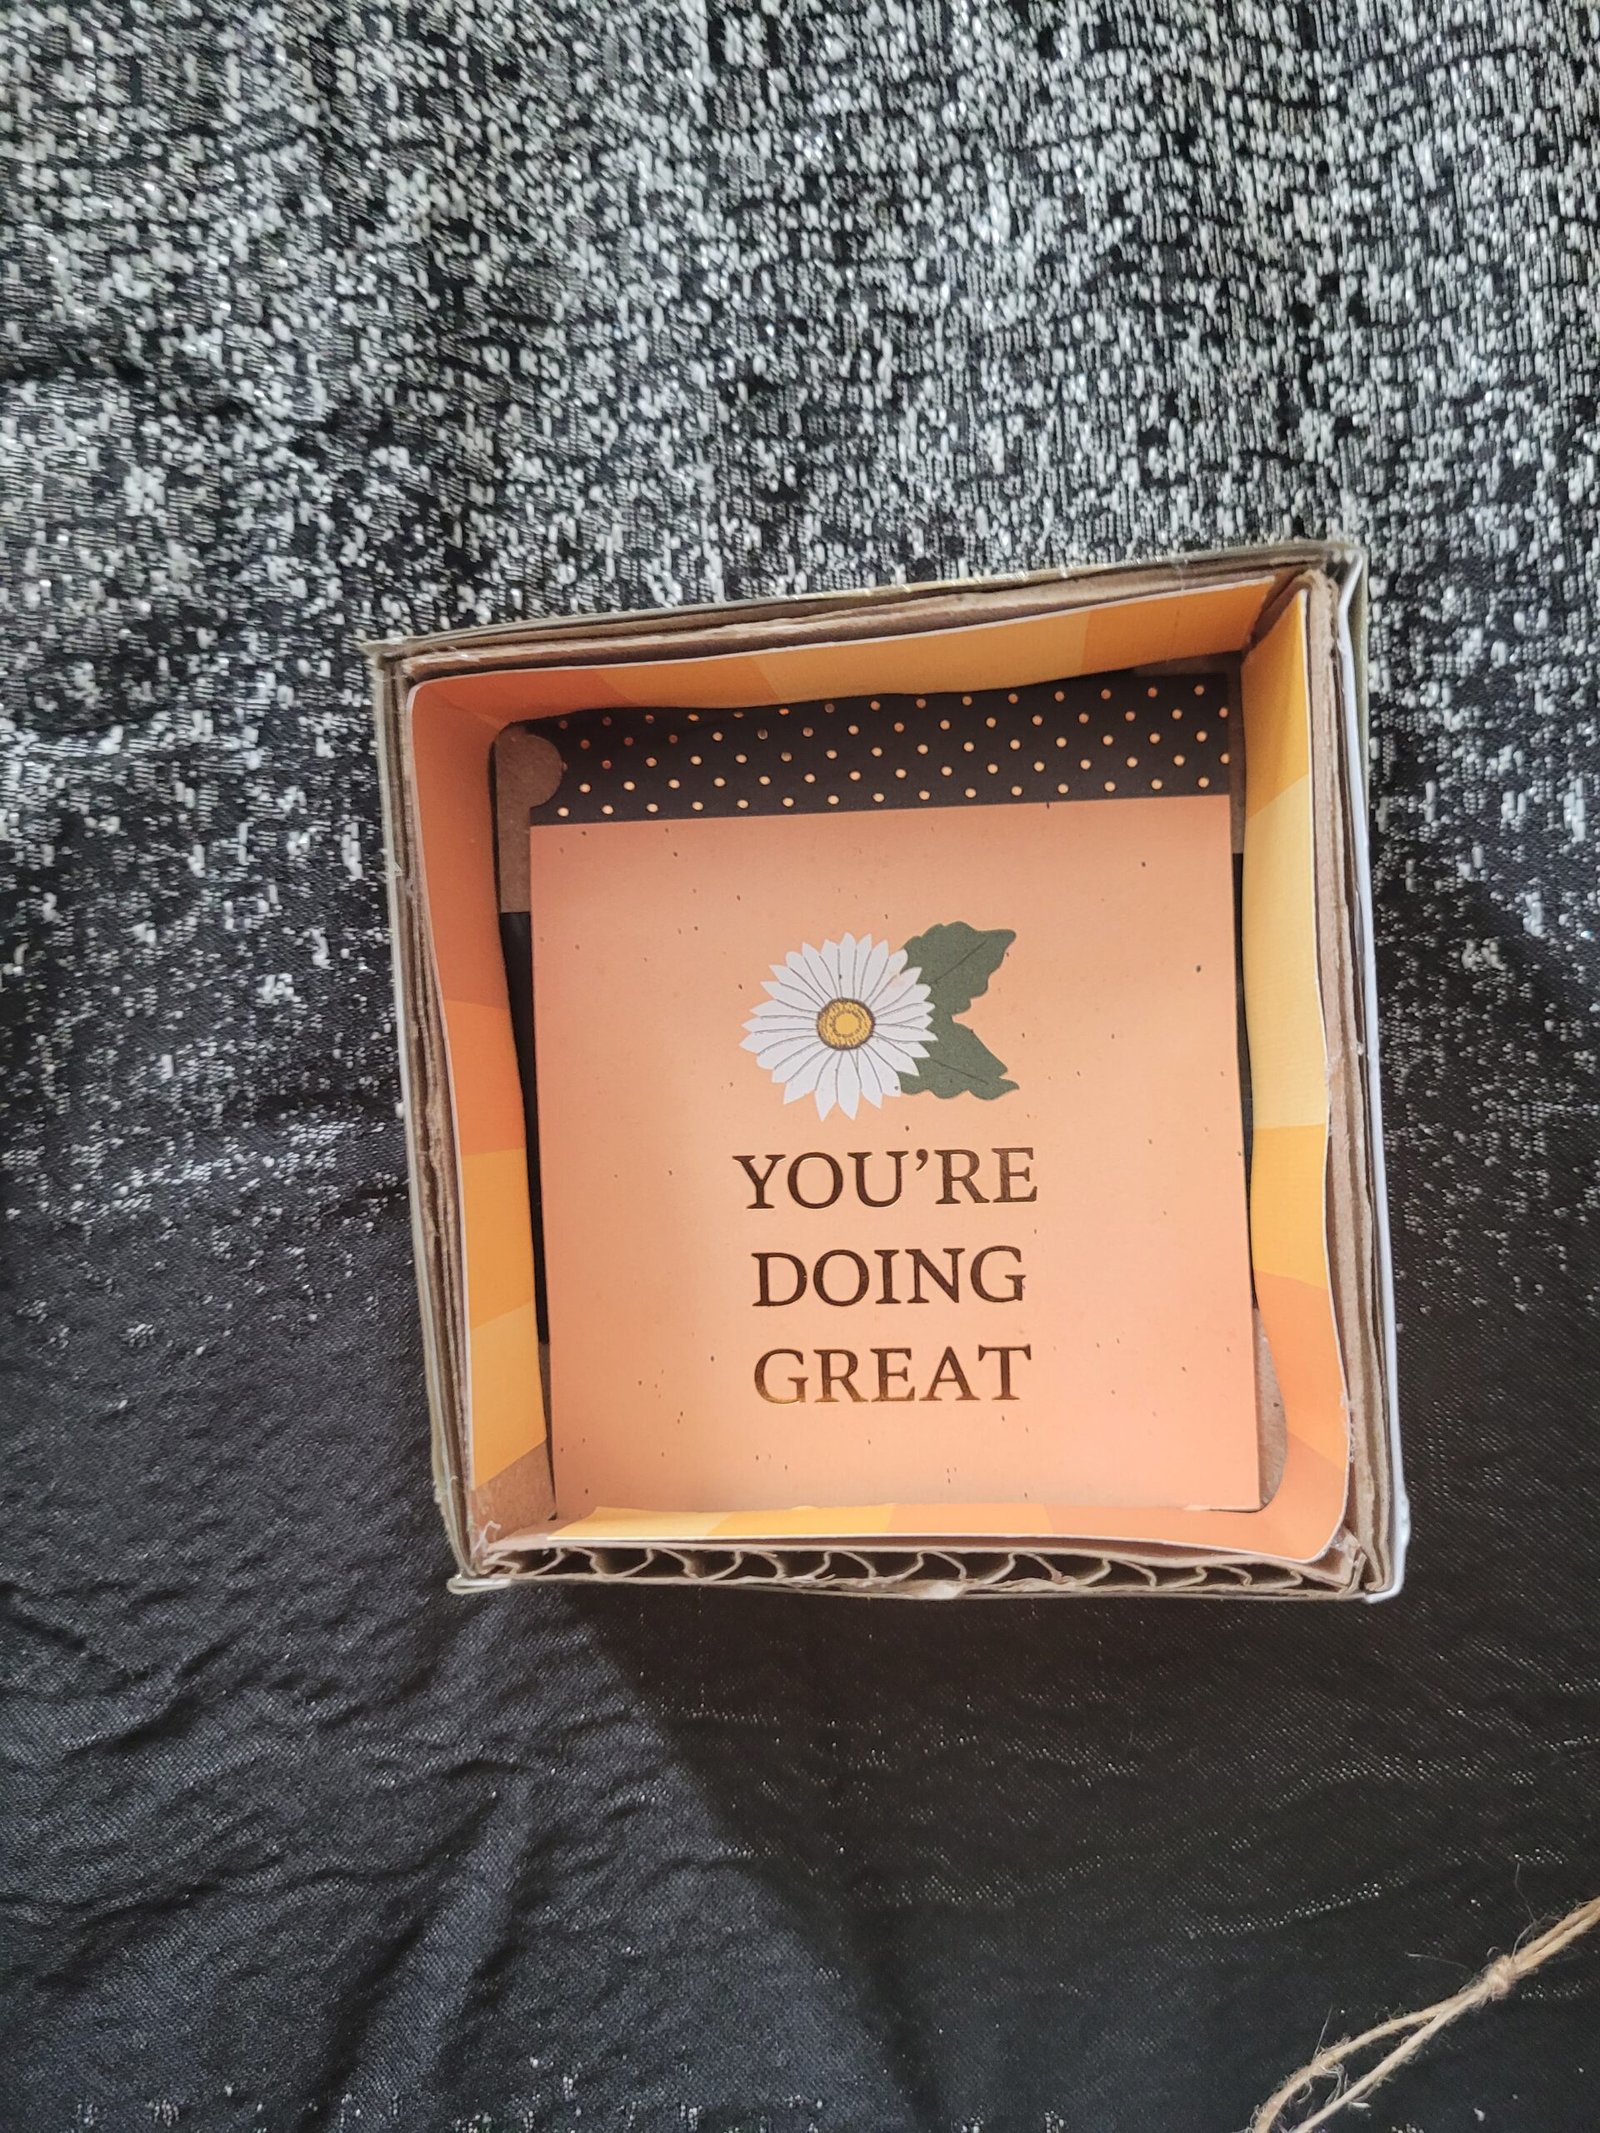 I had cool messages in the Scrap Book Paper Pad I bought which I cut out and added inside the boxes as well.
The emblems I attached to the bows on top of each box, crazy enough, are product tags I saved. I am an organized pack rat and tend to save everything I think could be of some use. 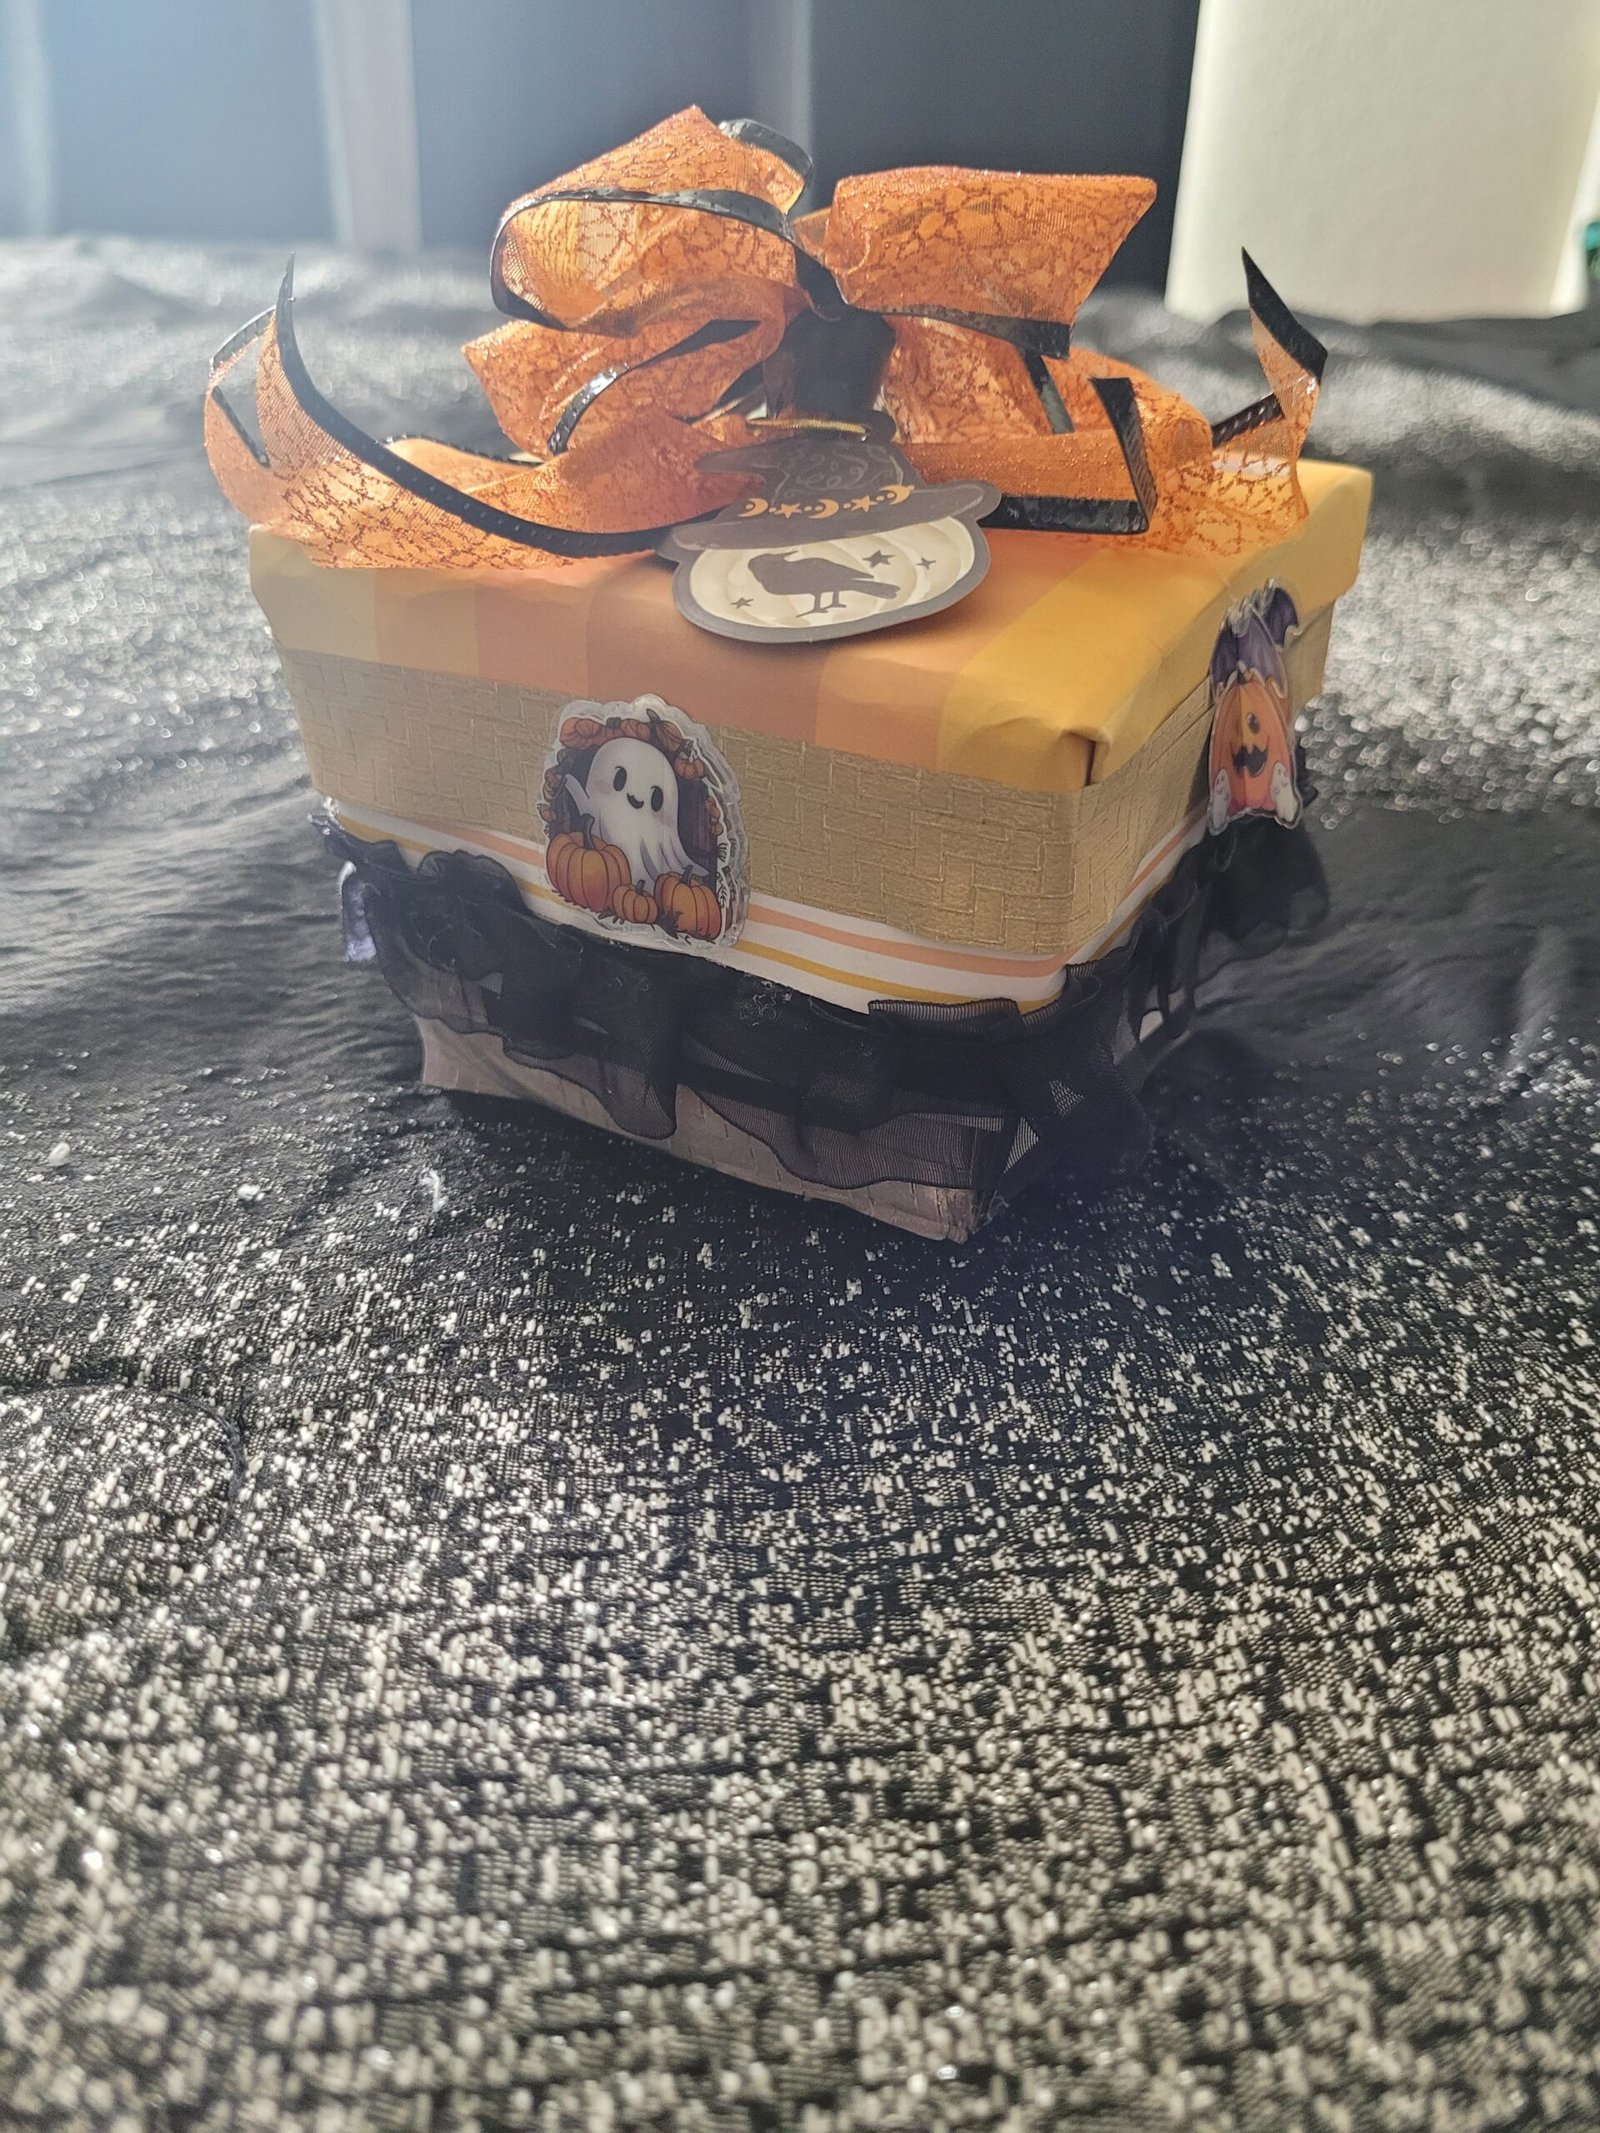 These Halloween 3D stickers are from Dollar Tree.
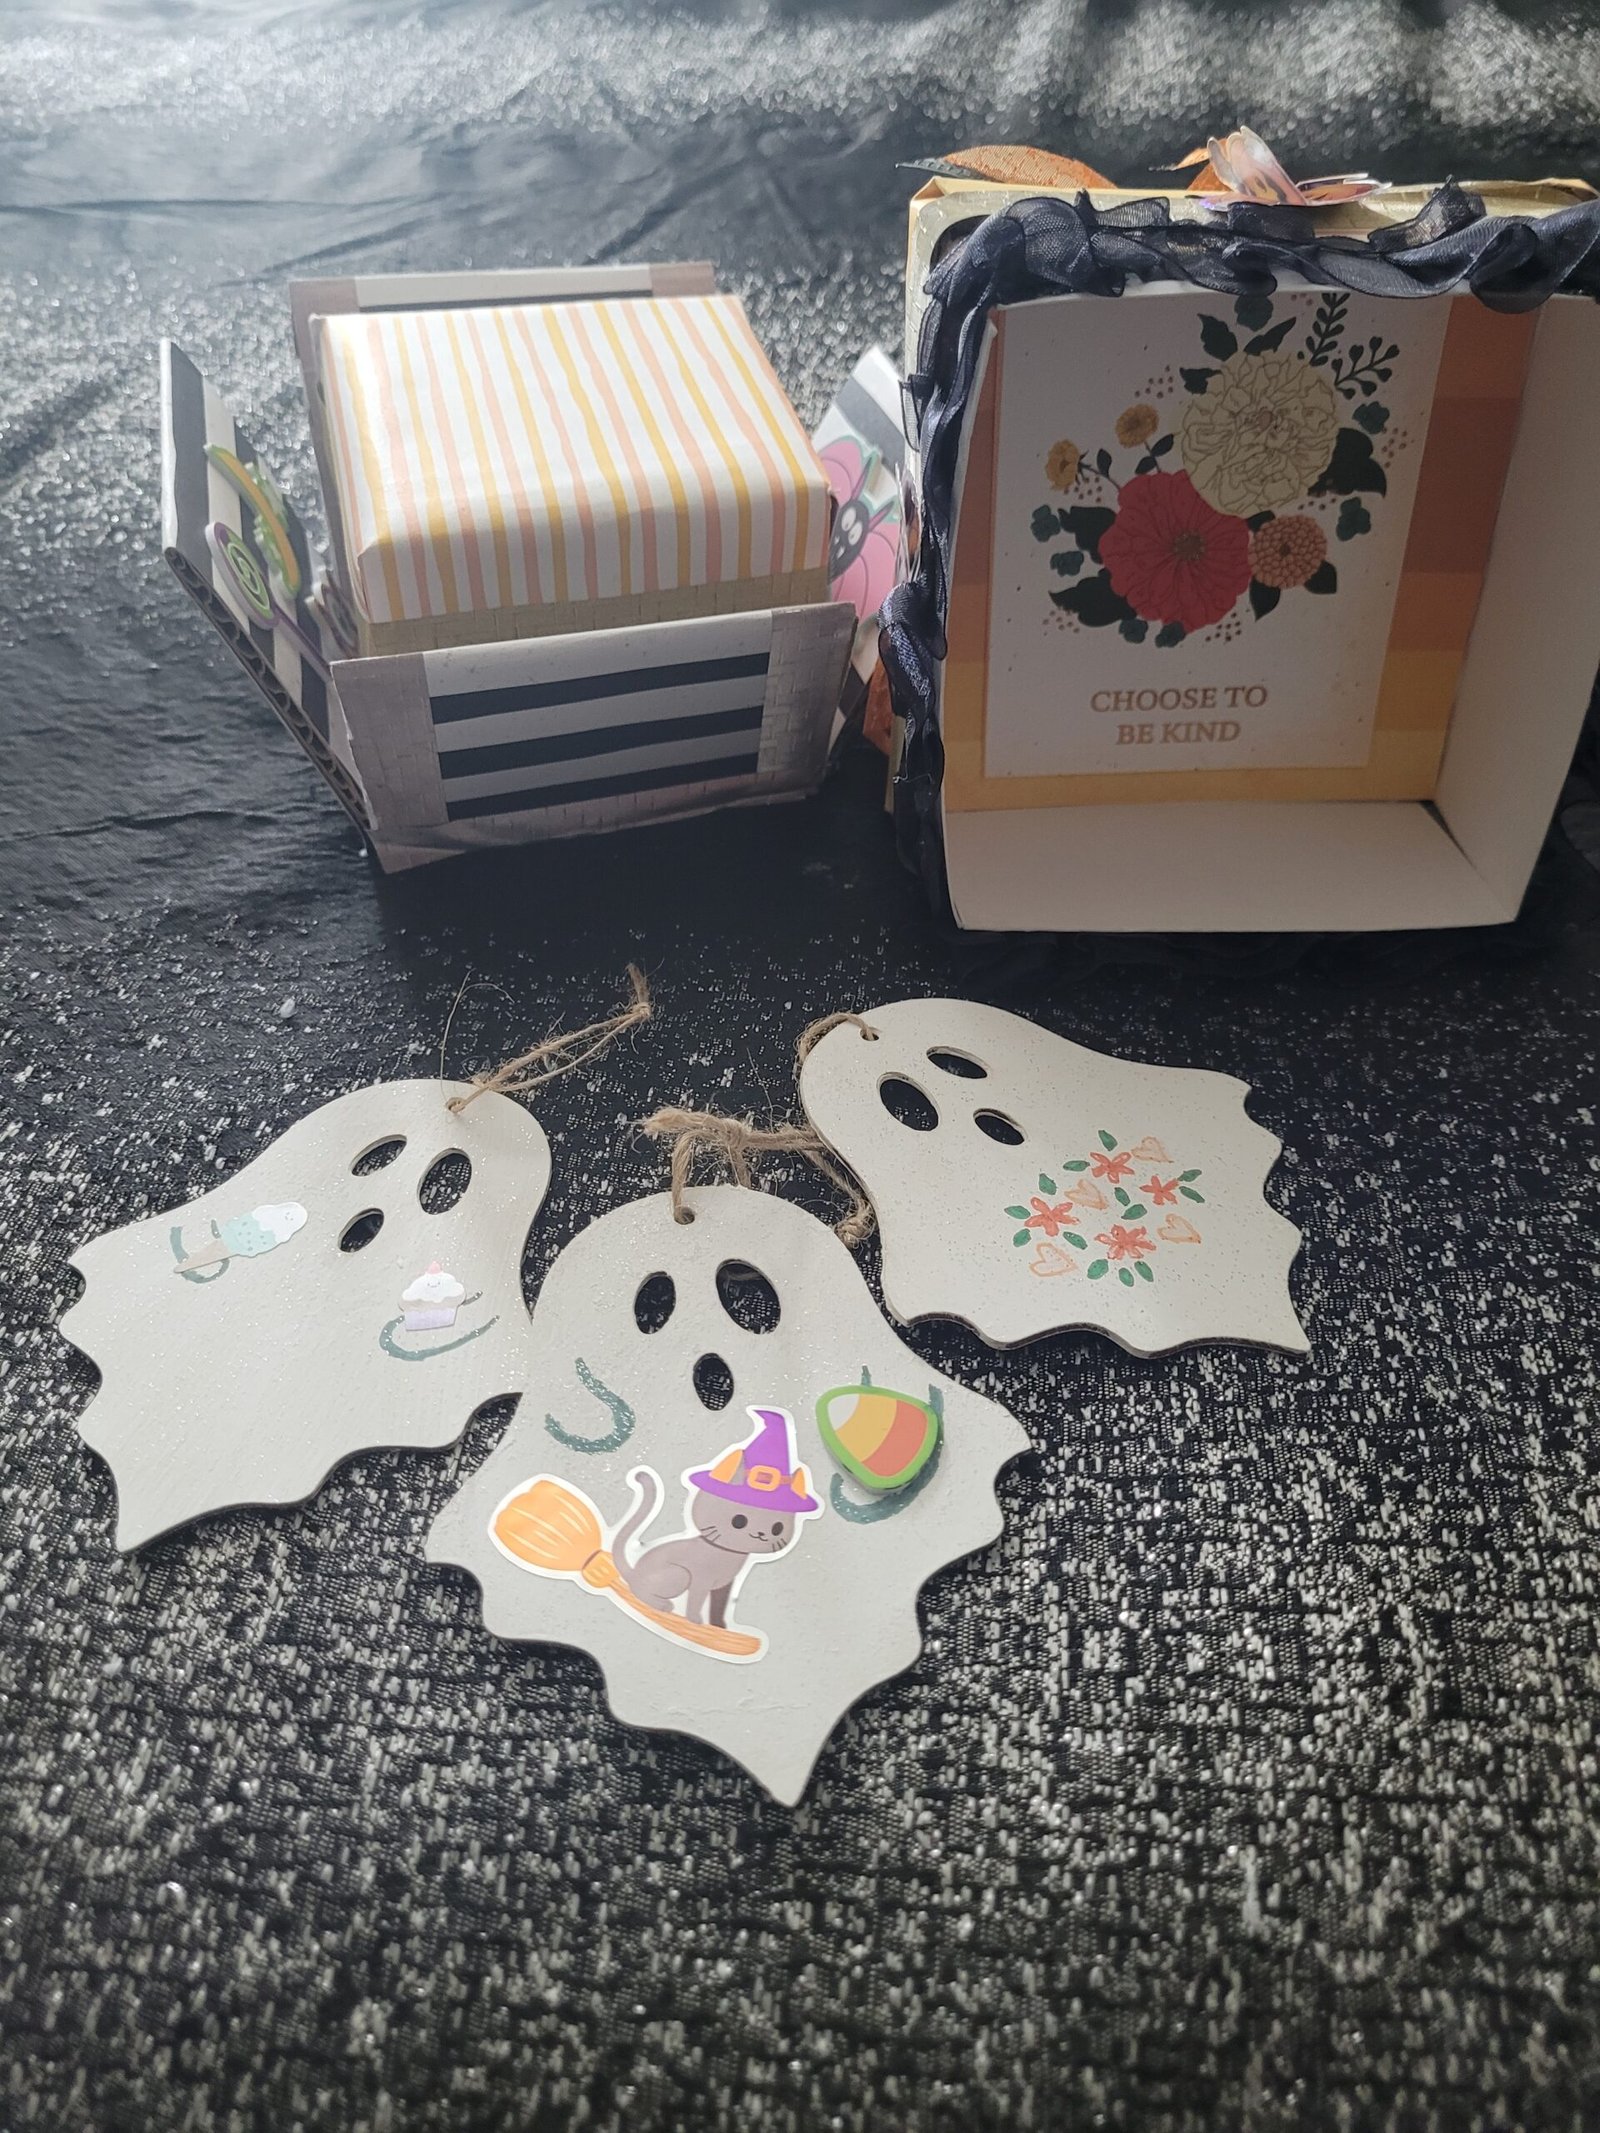
 As far as placing gifts and trinkets inside the boxes, I bought a wooden pack of ghosts at the dollar tree and painted and decorated them.
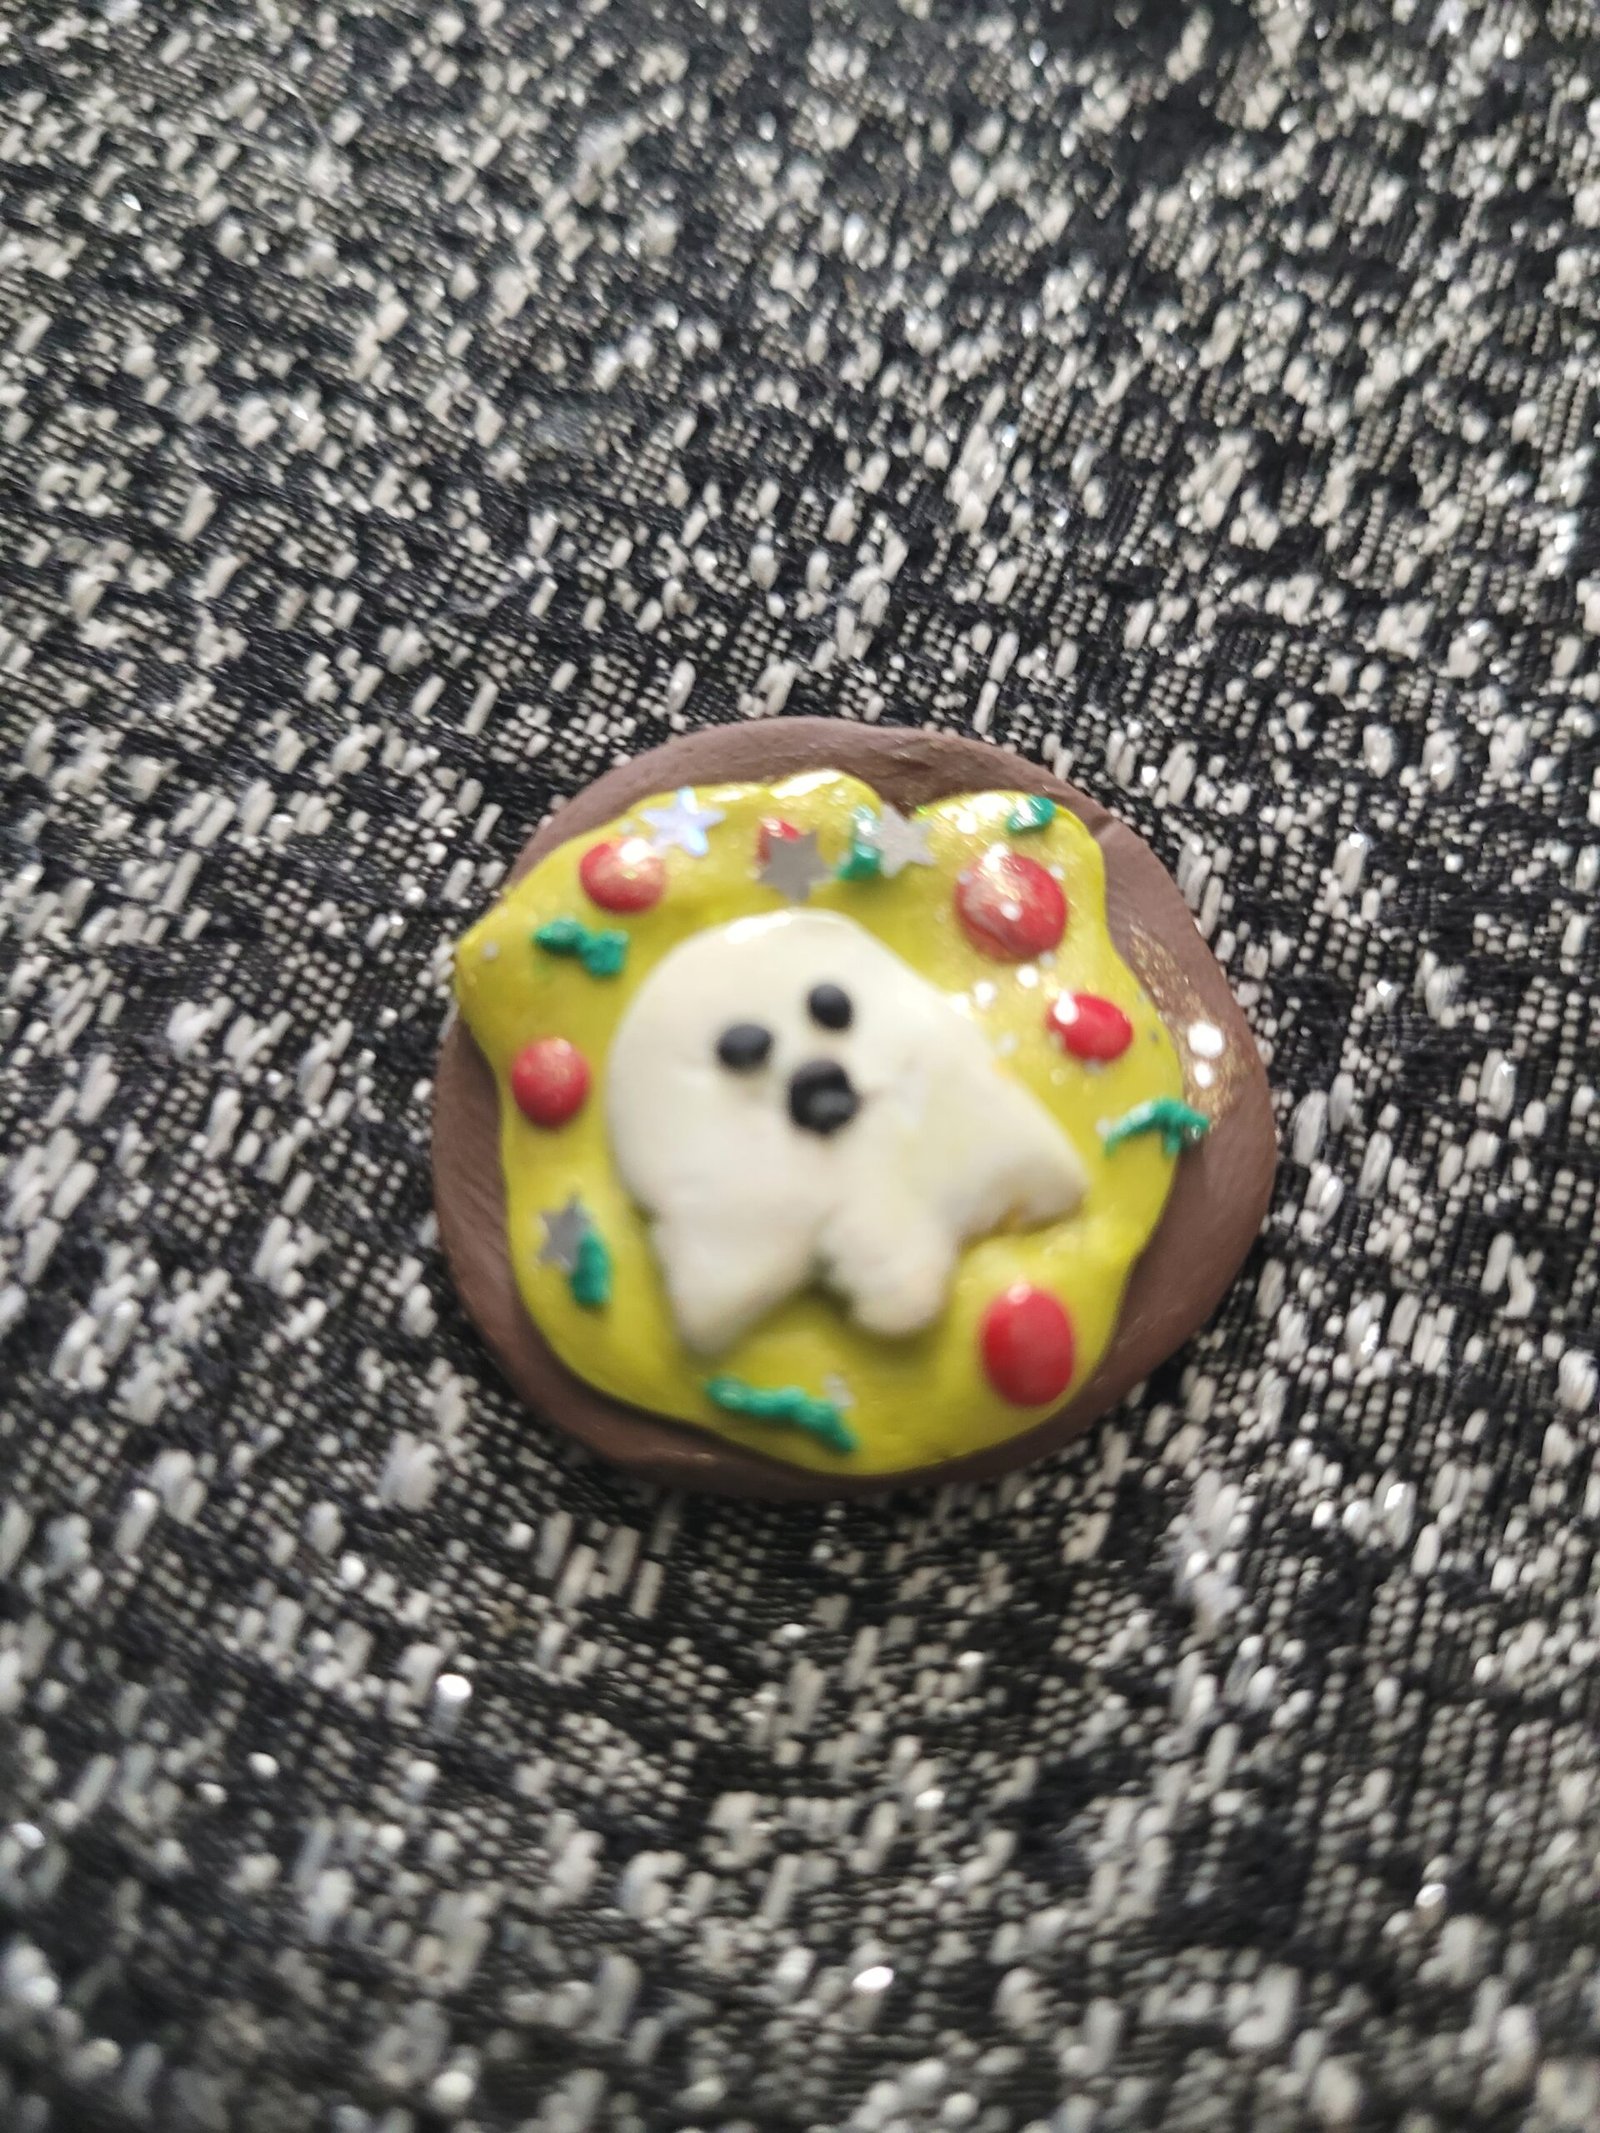
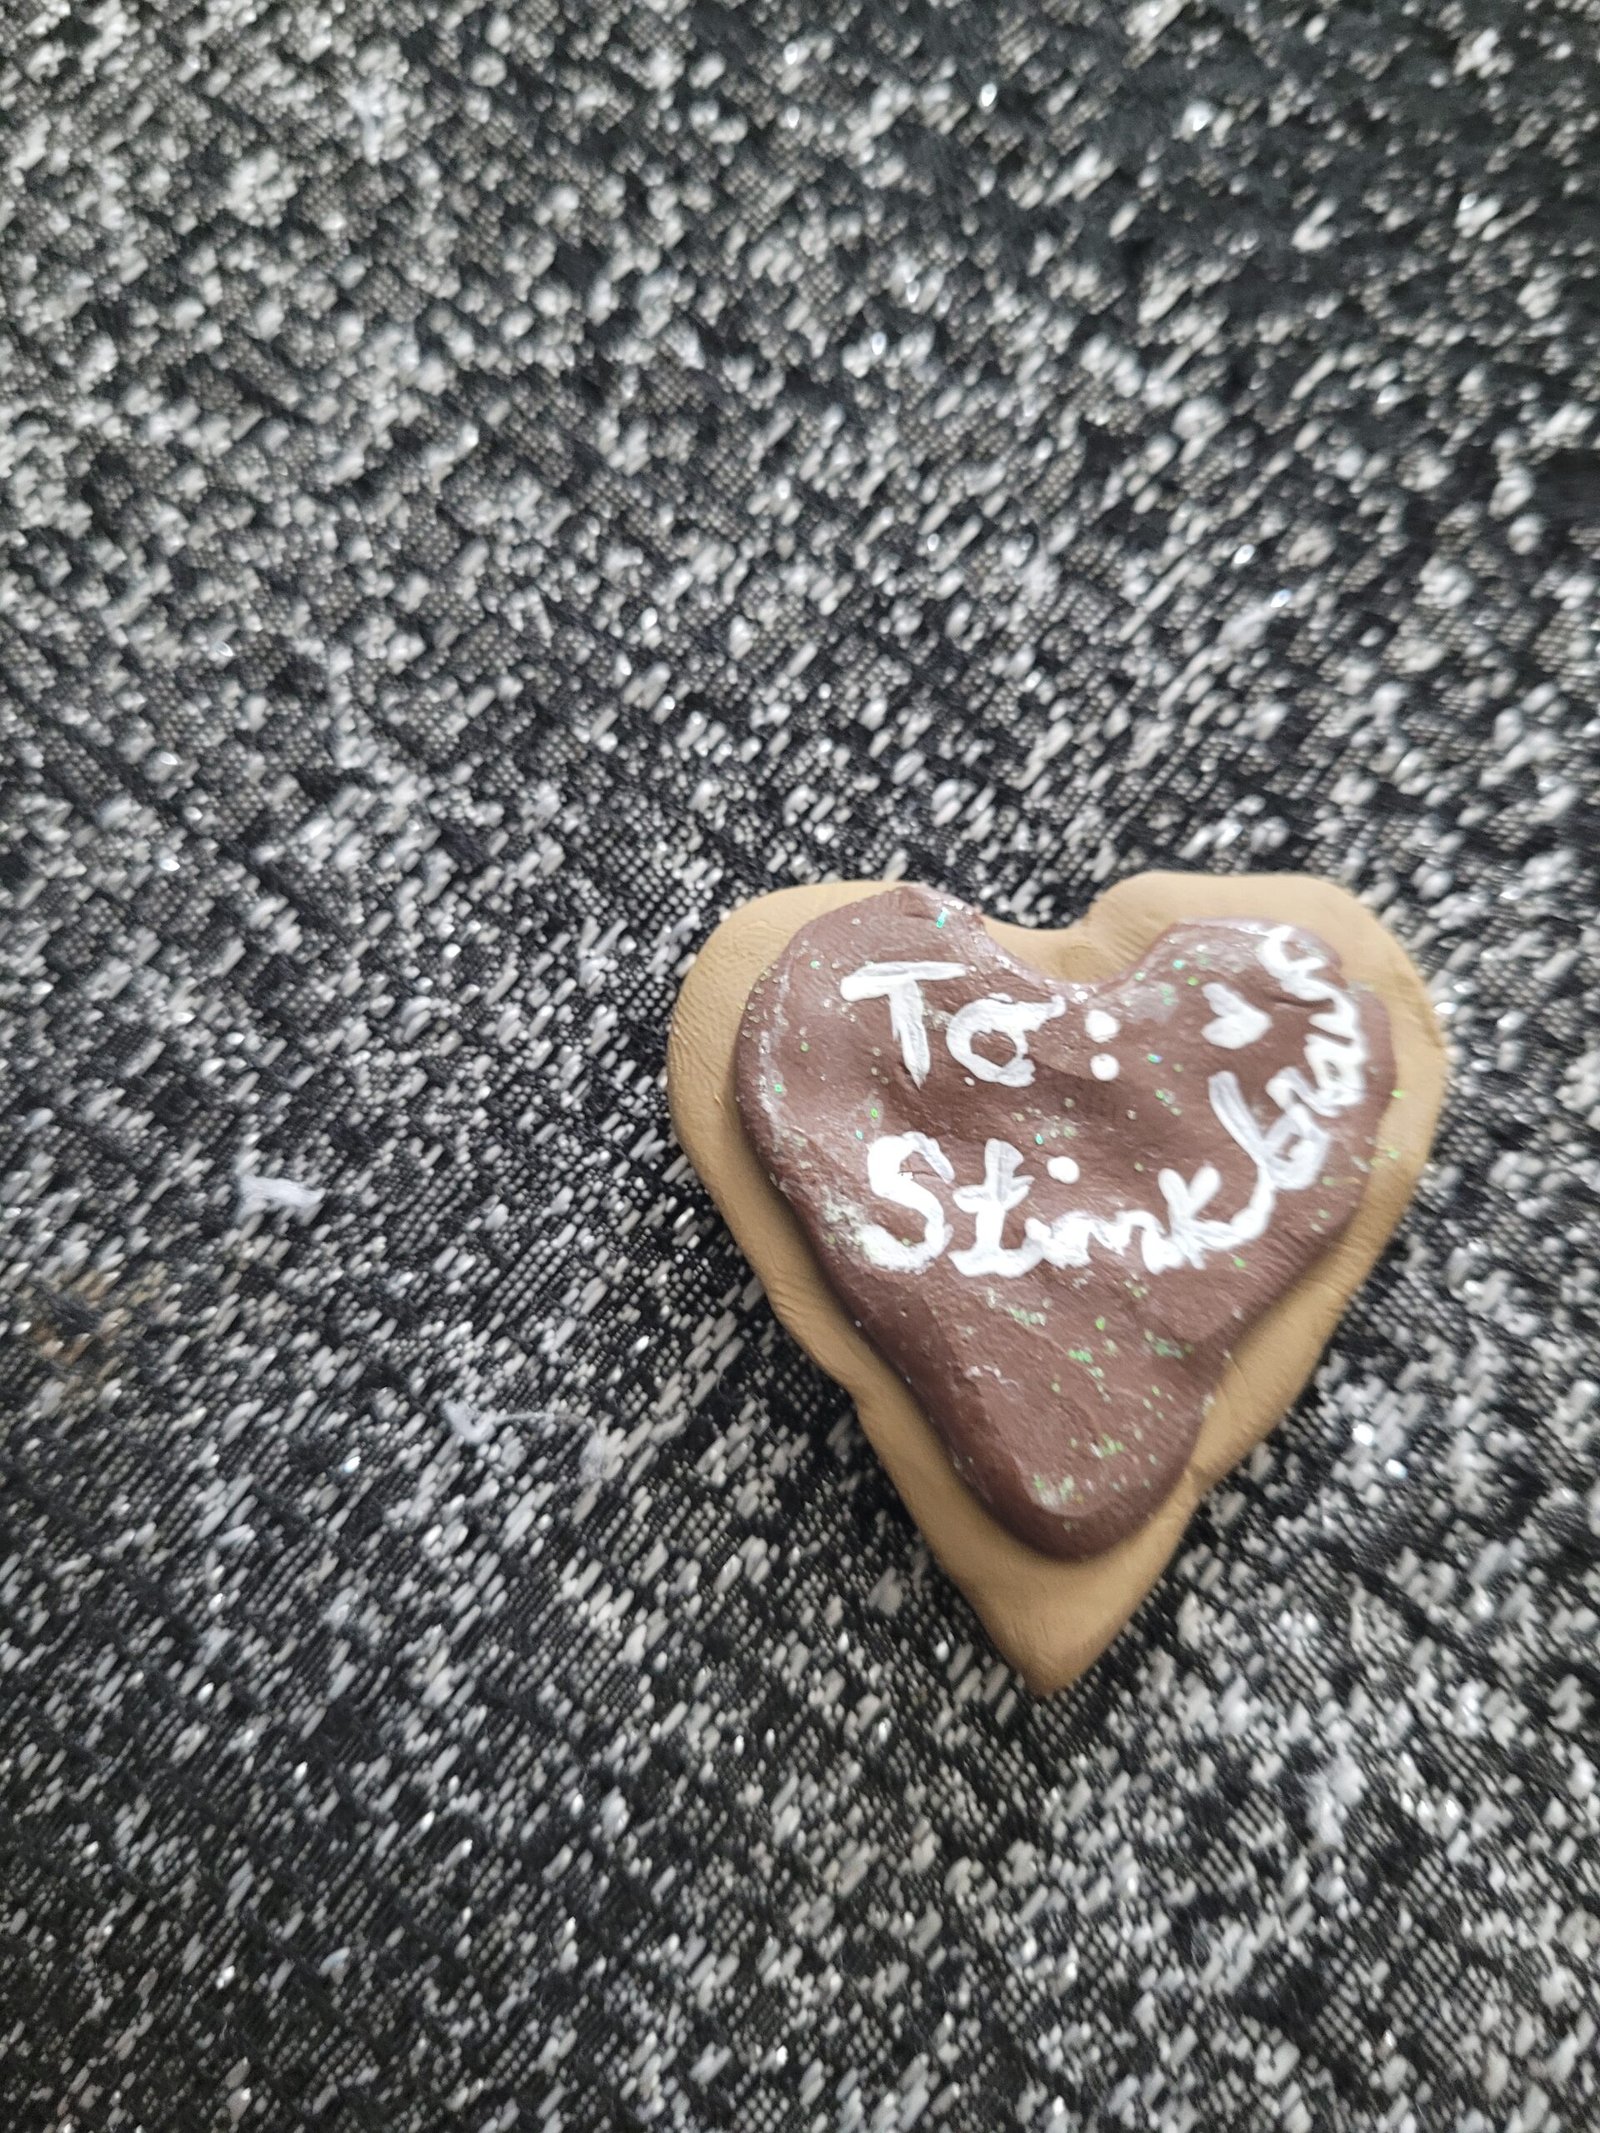
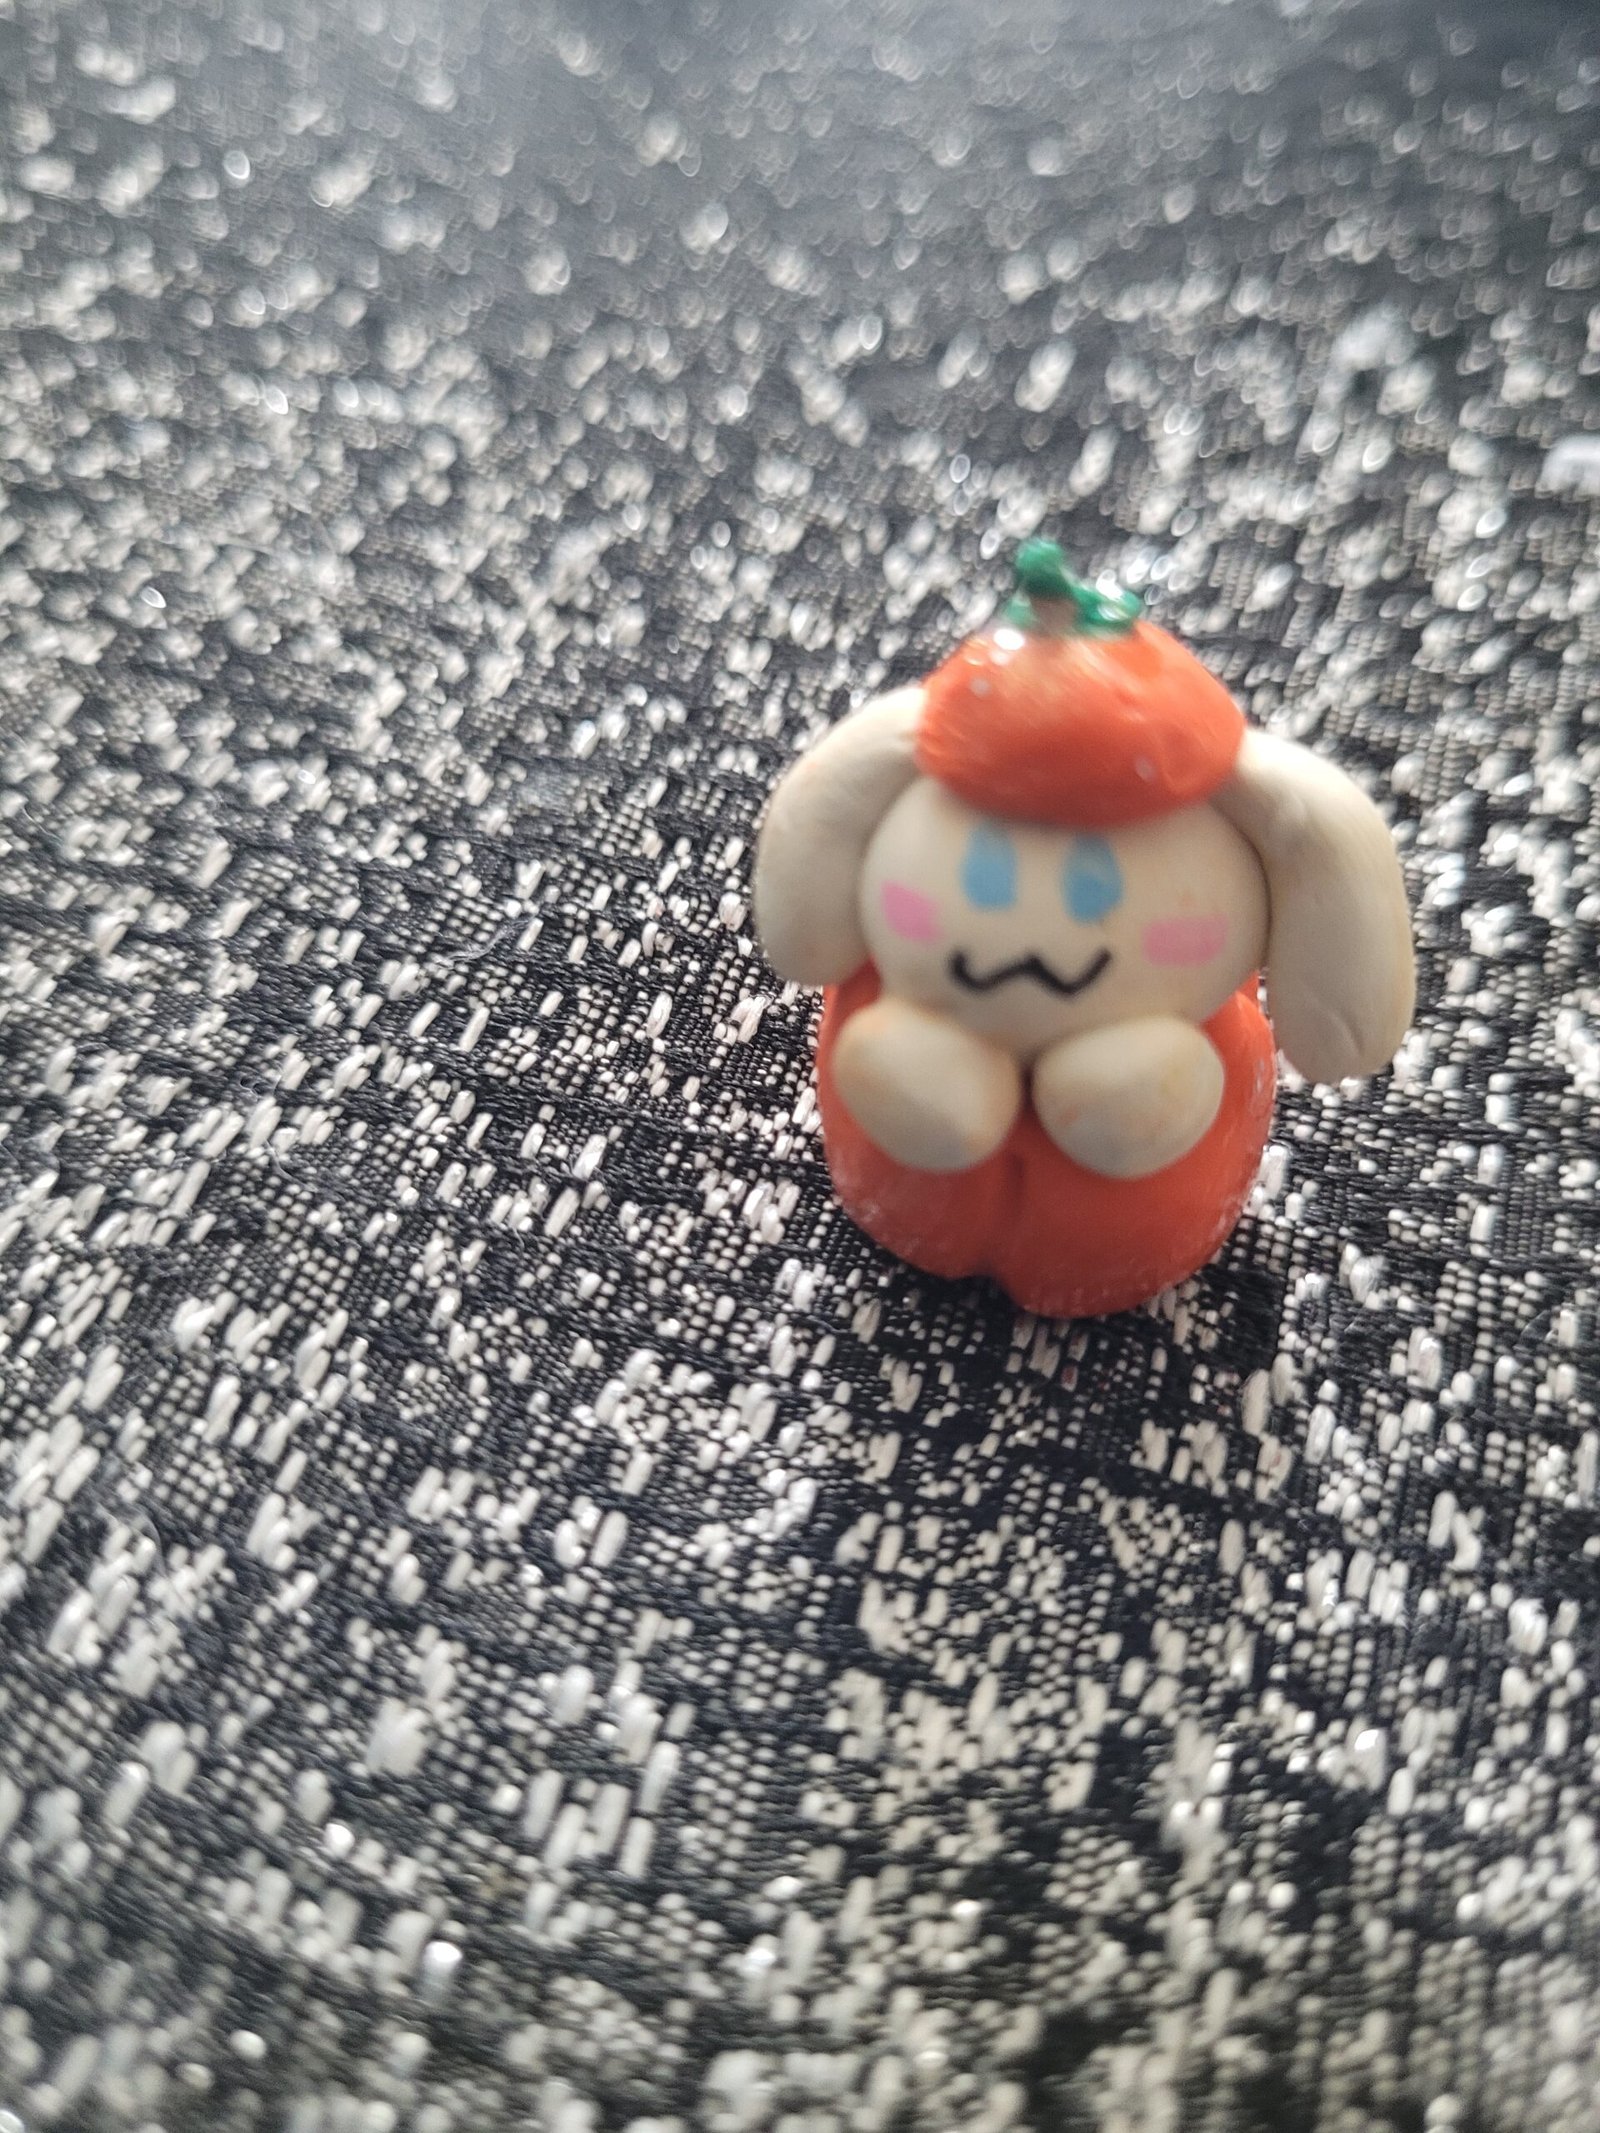
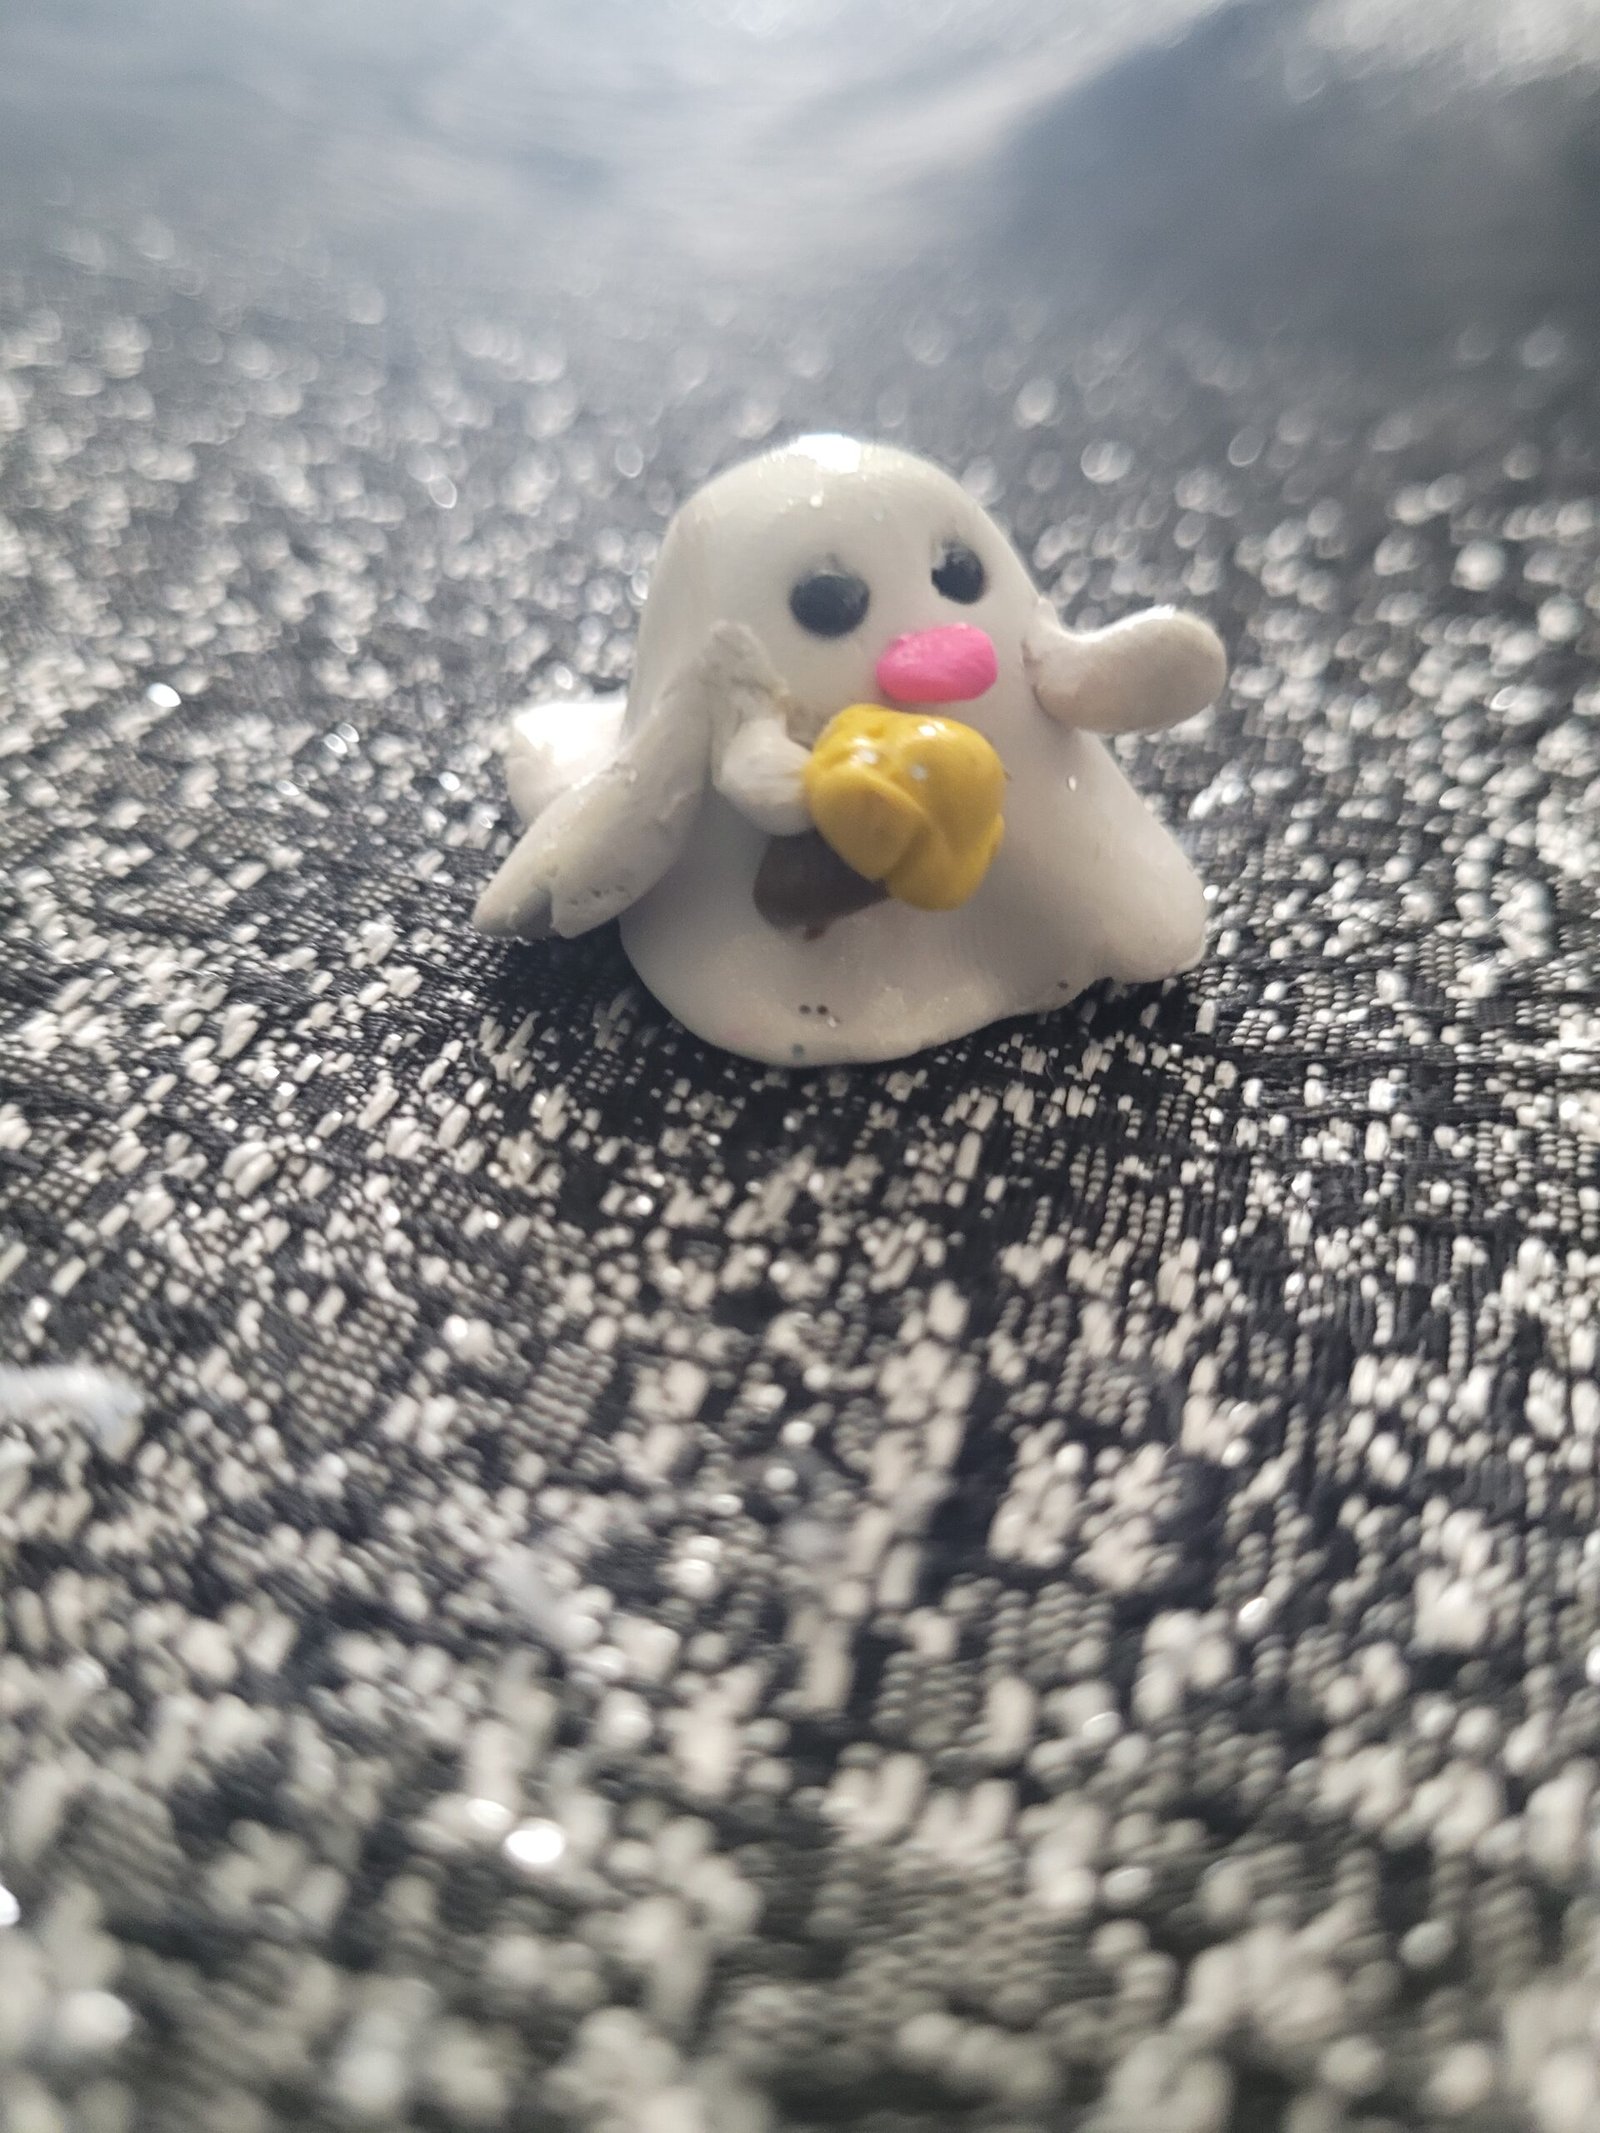
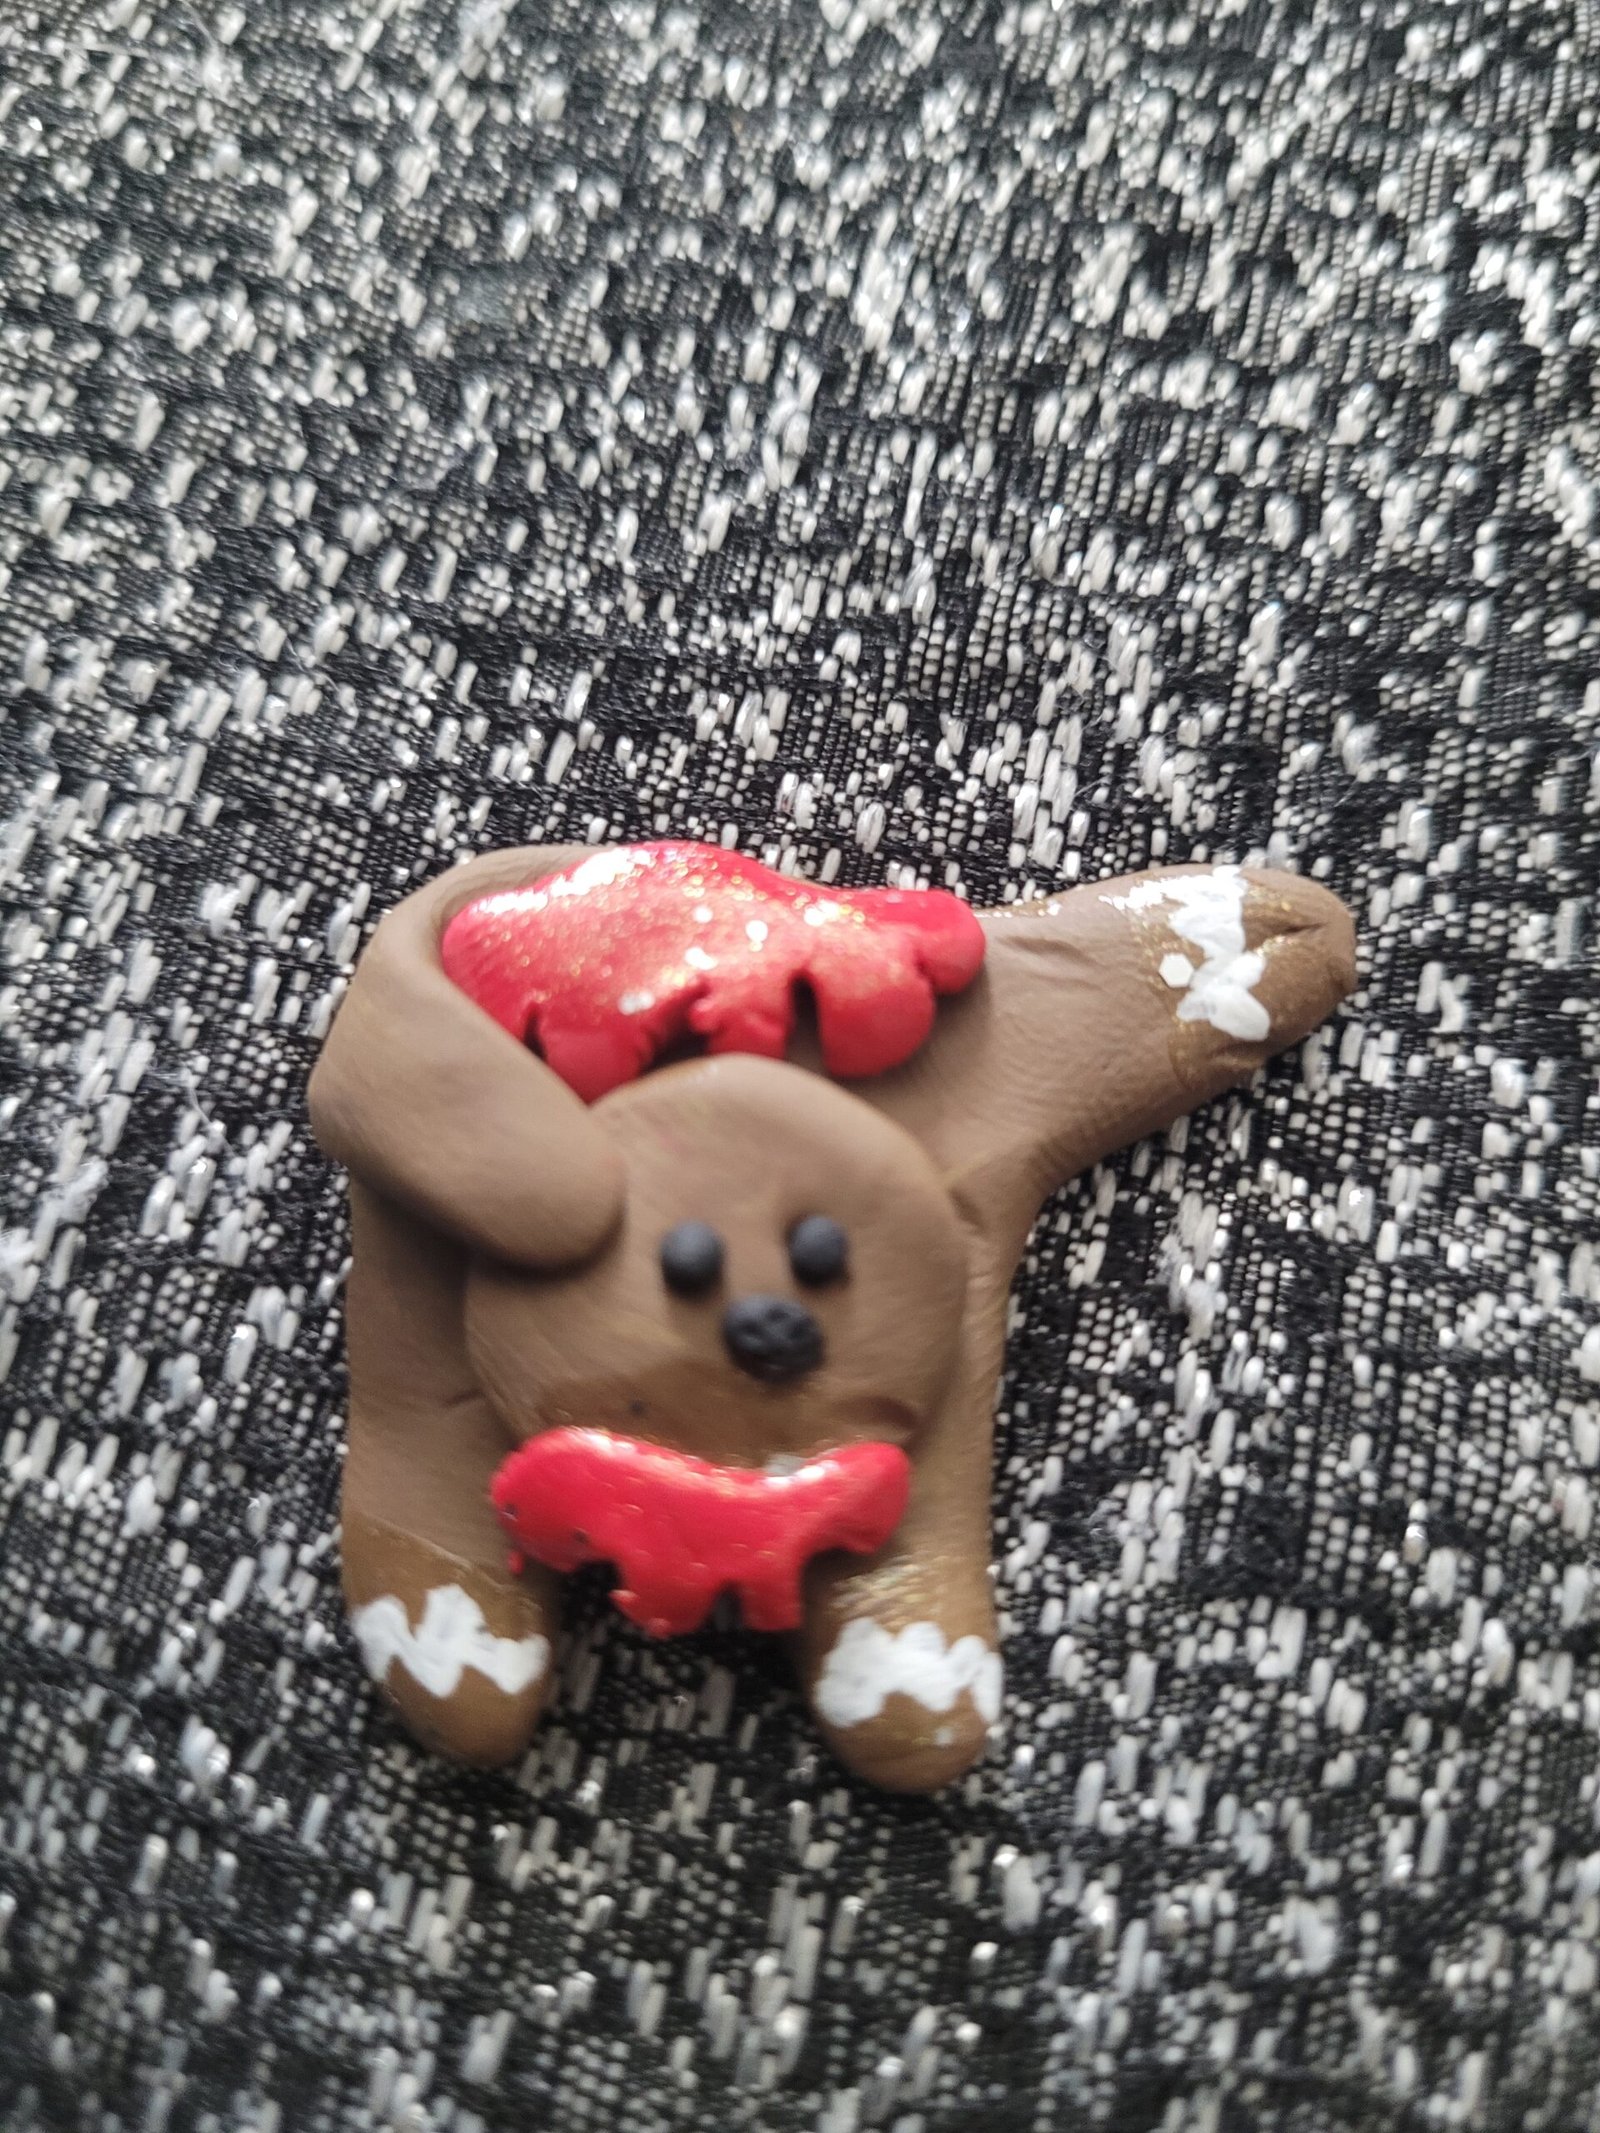
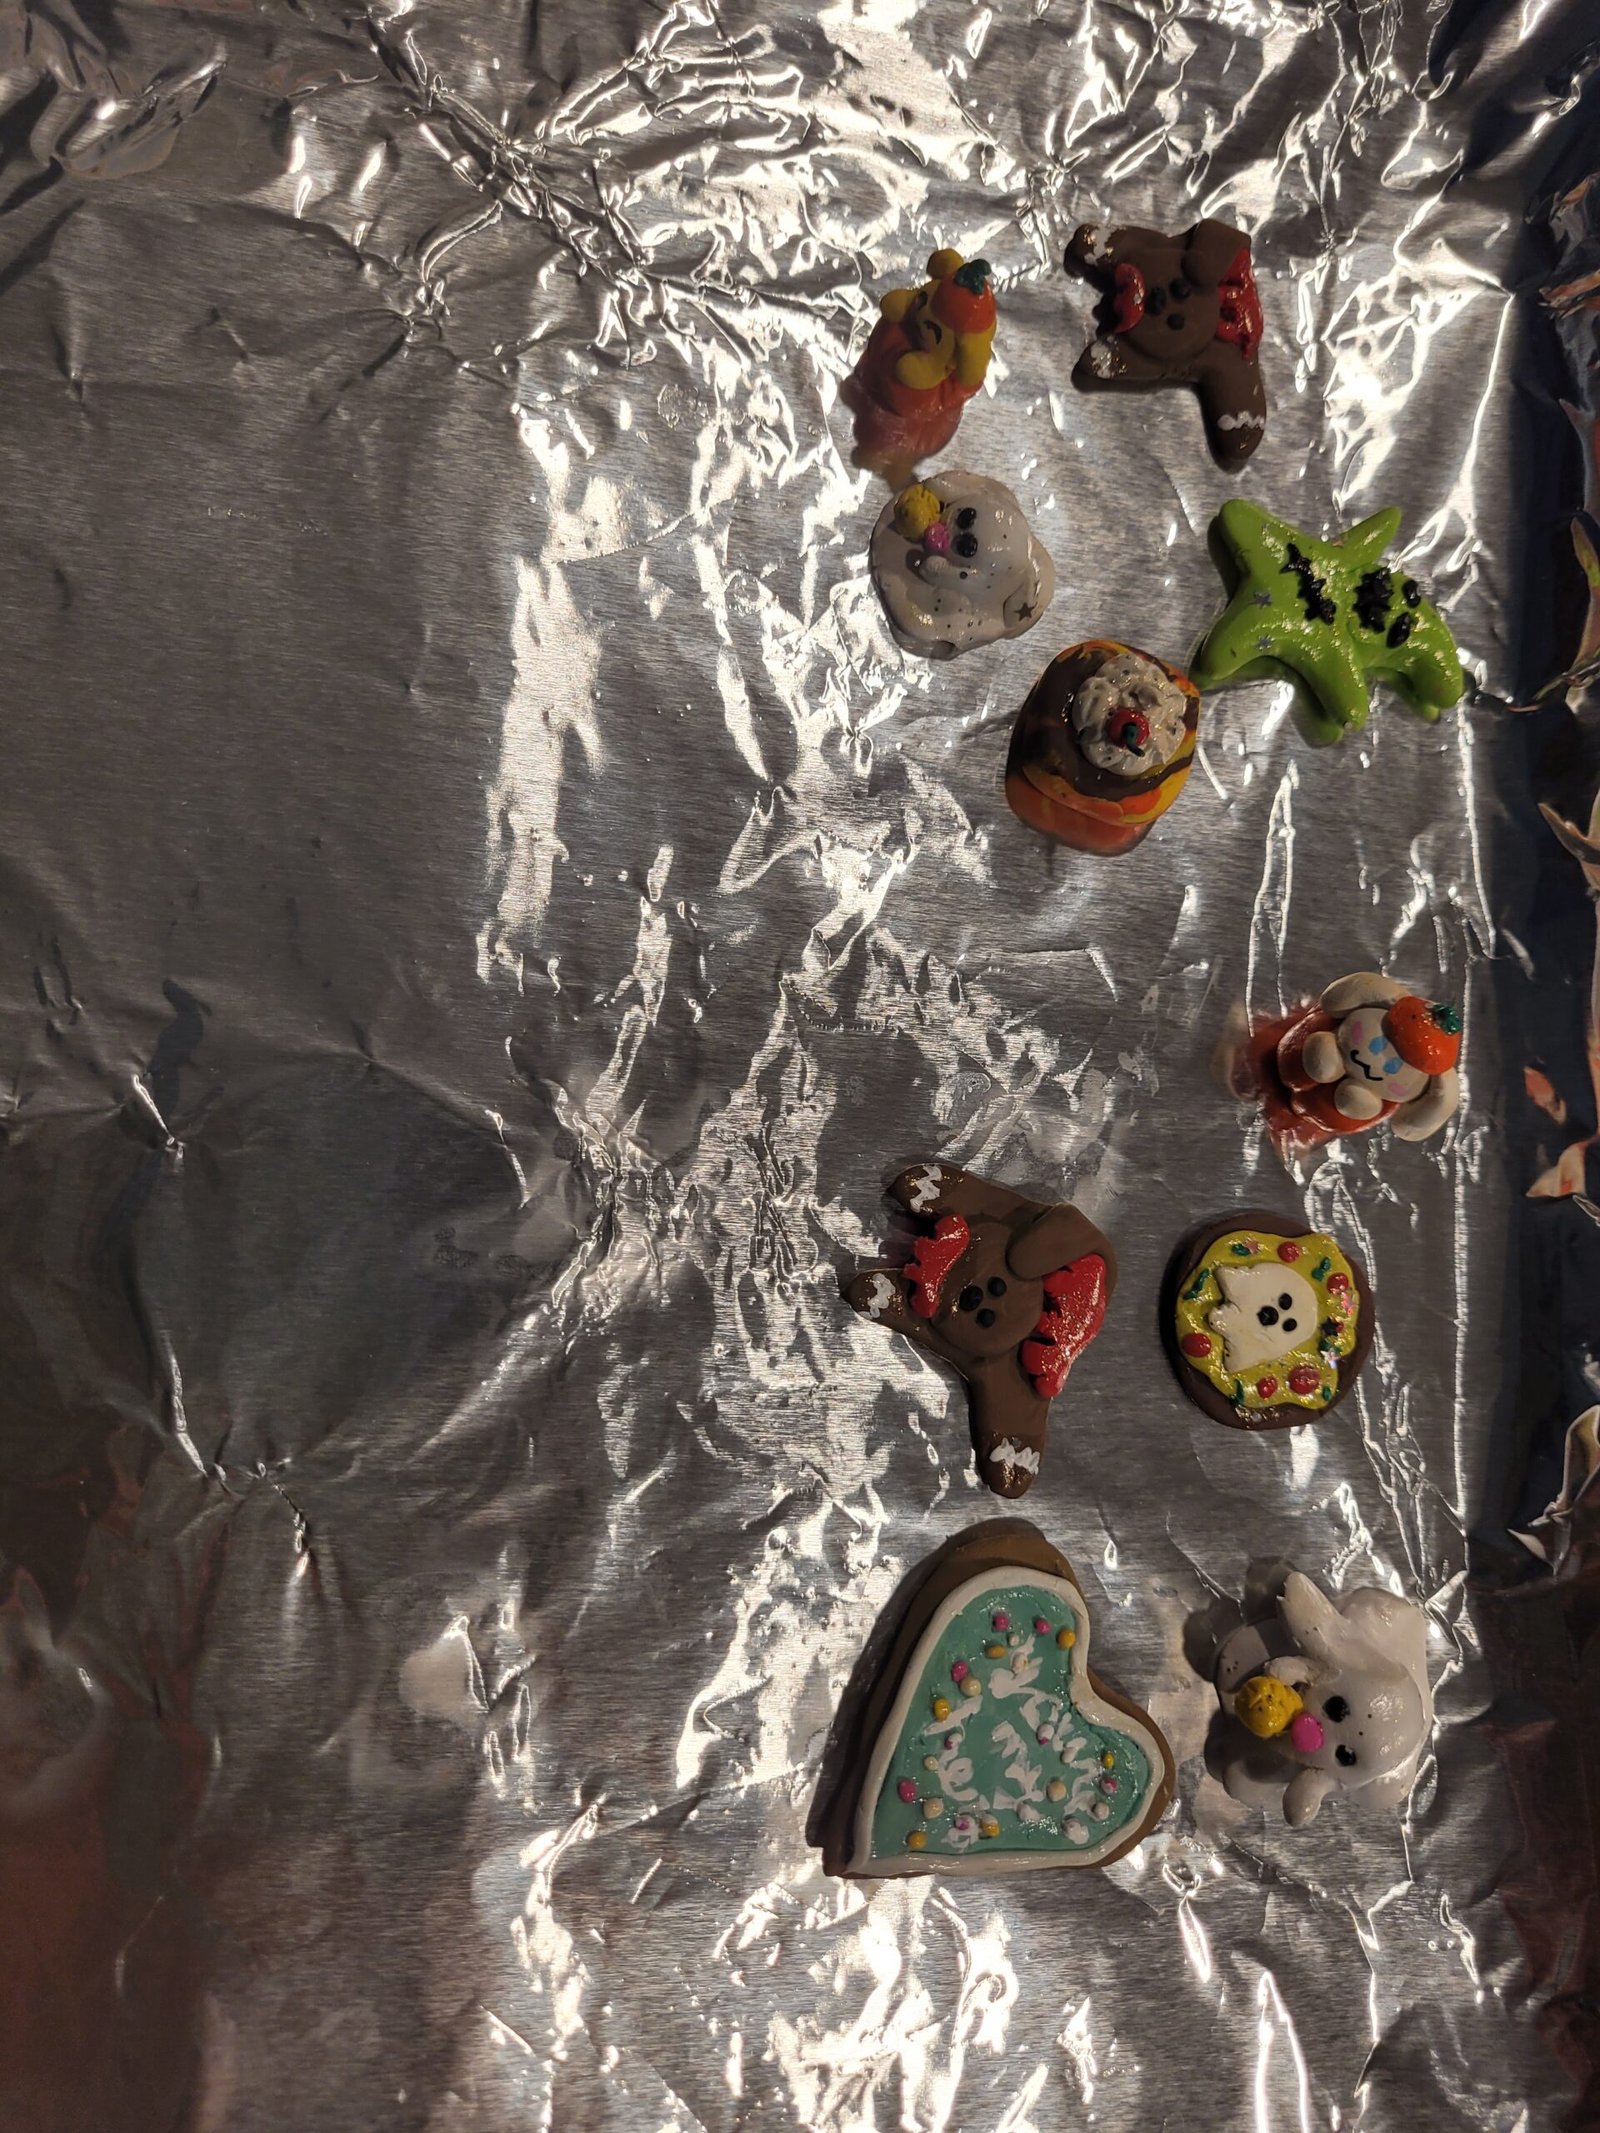
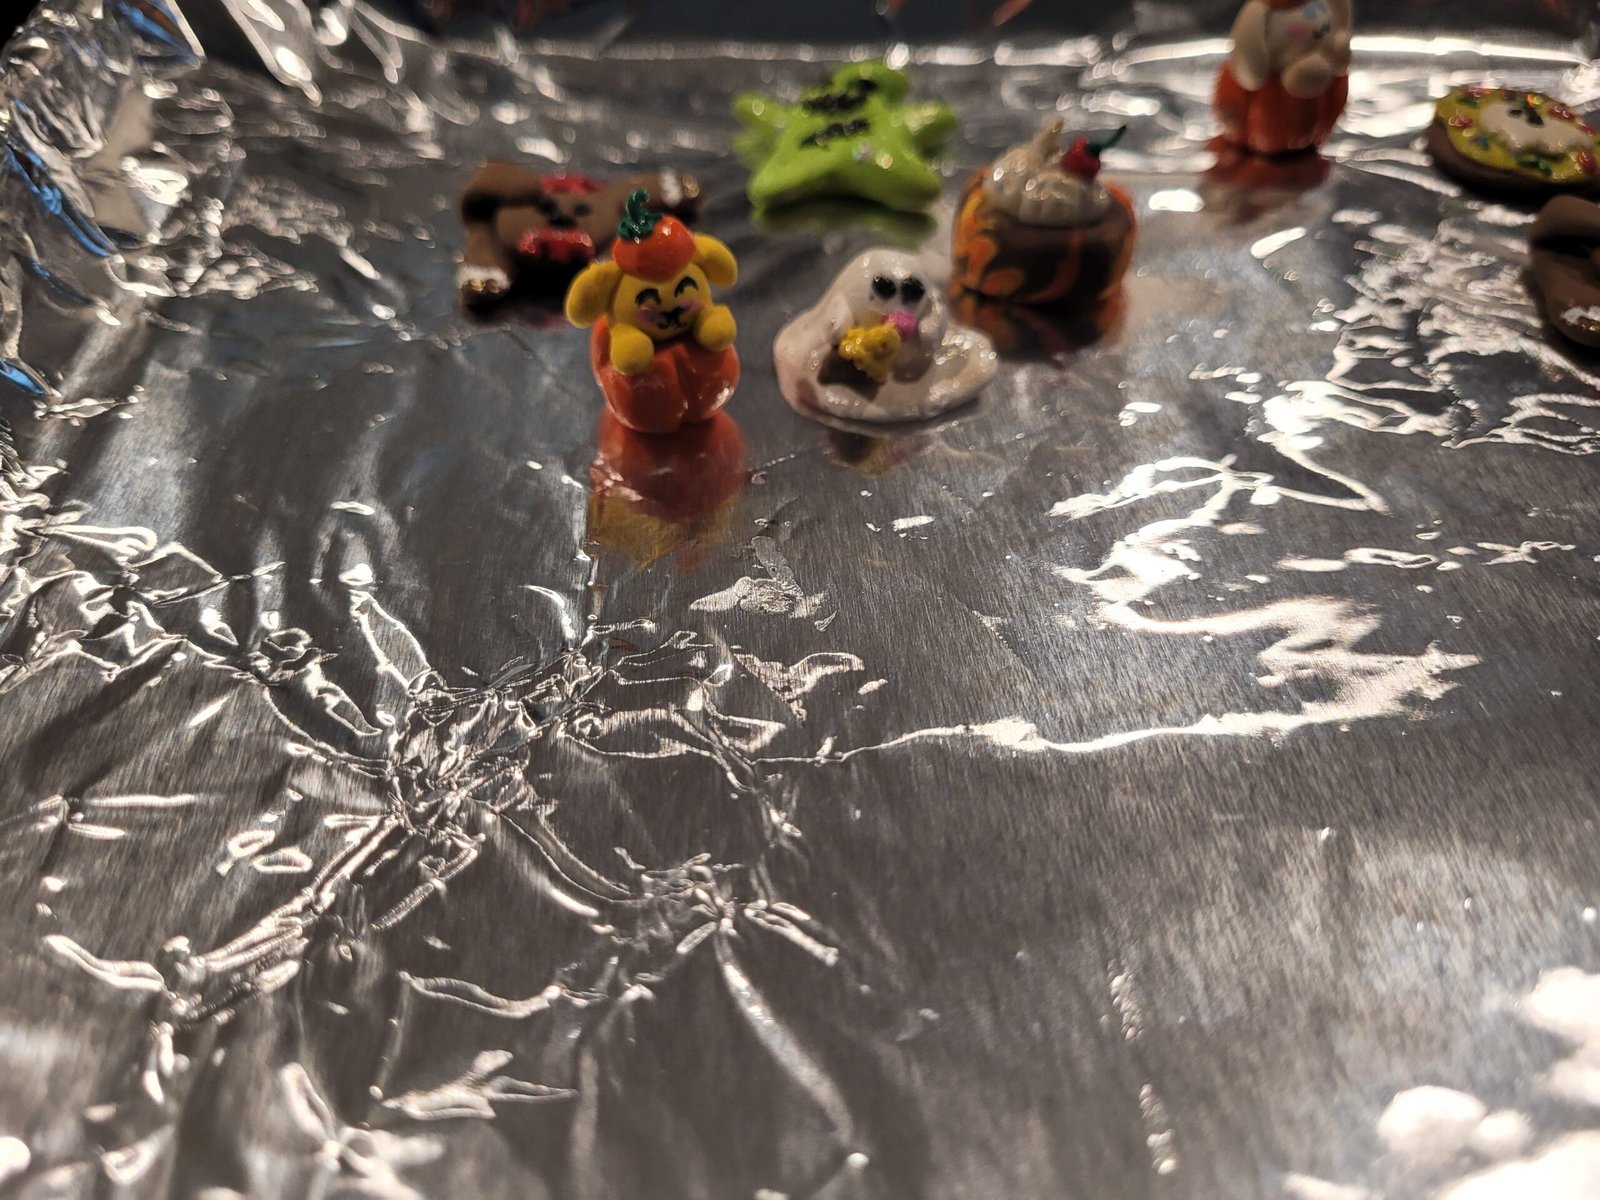
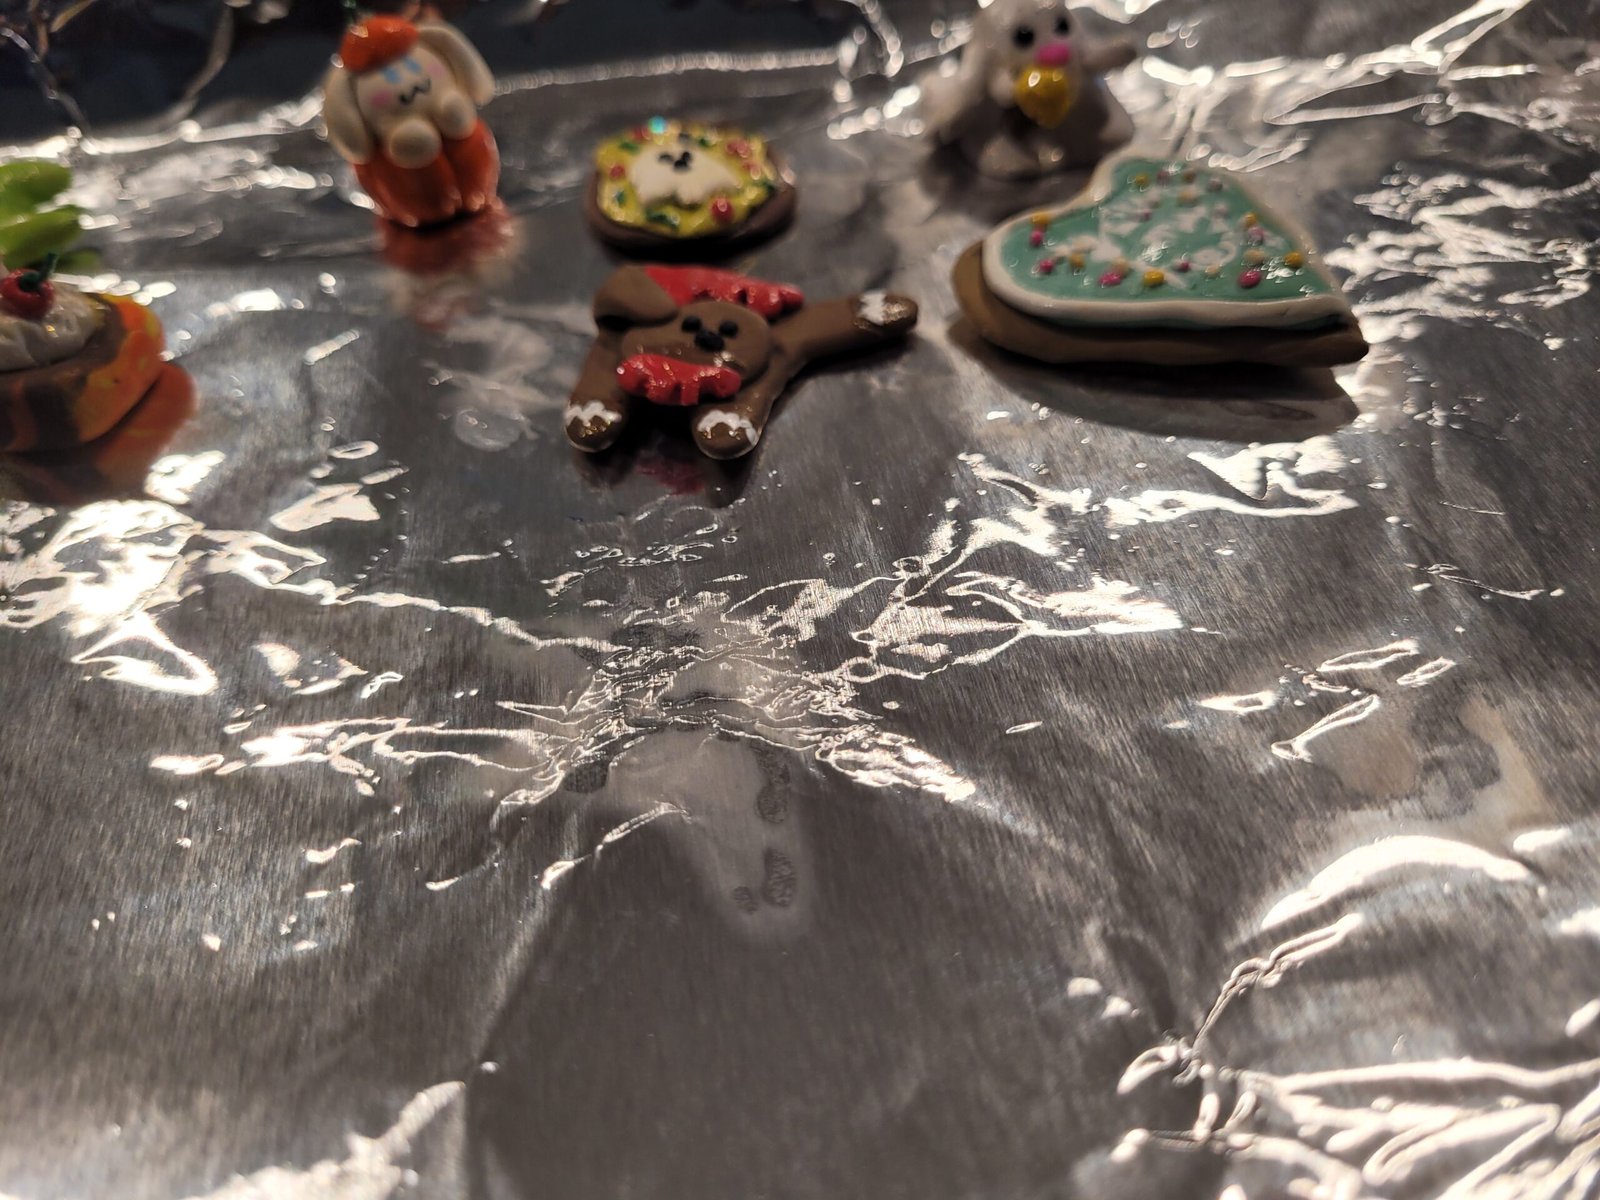
 I also created some mini polymer clay figurines to include a headless gingerbread man, ghosts eating ice cream, Oogie Boogie, PomPomPurin, a Halloween Brownie, My Melody, and a Ghost Pizza and a Wreck-It-Ralph You’re My Hero Heart Shaped Sugar Cookie. You can buy a polymer clay kit from Hobby Lobby or Michaels which comes with instructions for baking on the package.
 I included a Happy Hello-ween Kitty Coloring Book I made, and some stickers and Halloween Flags from Daiso (for cupcakes) along with the polymer clay figurines.
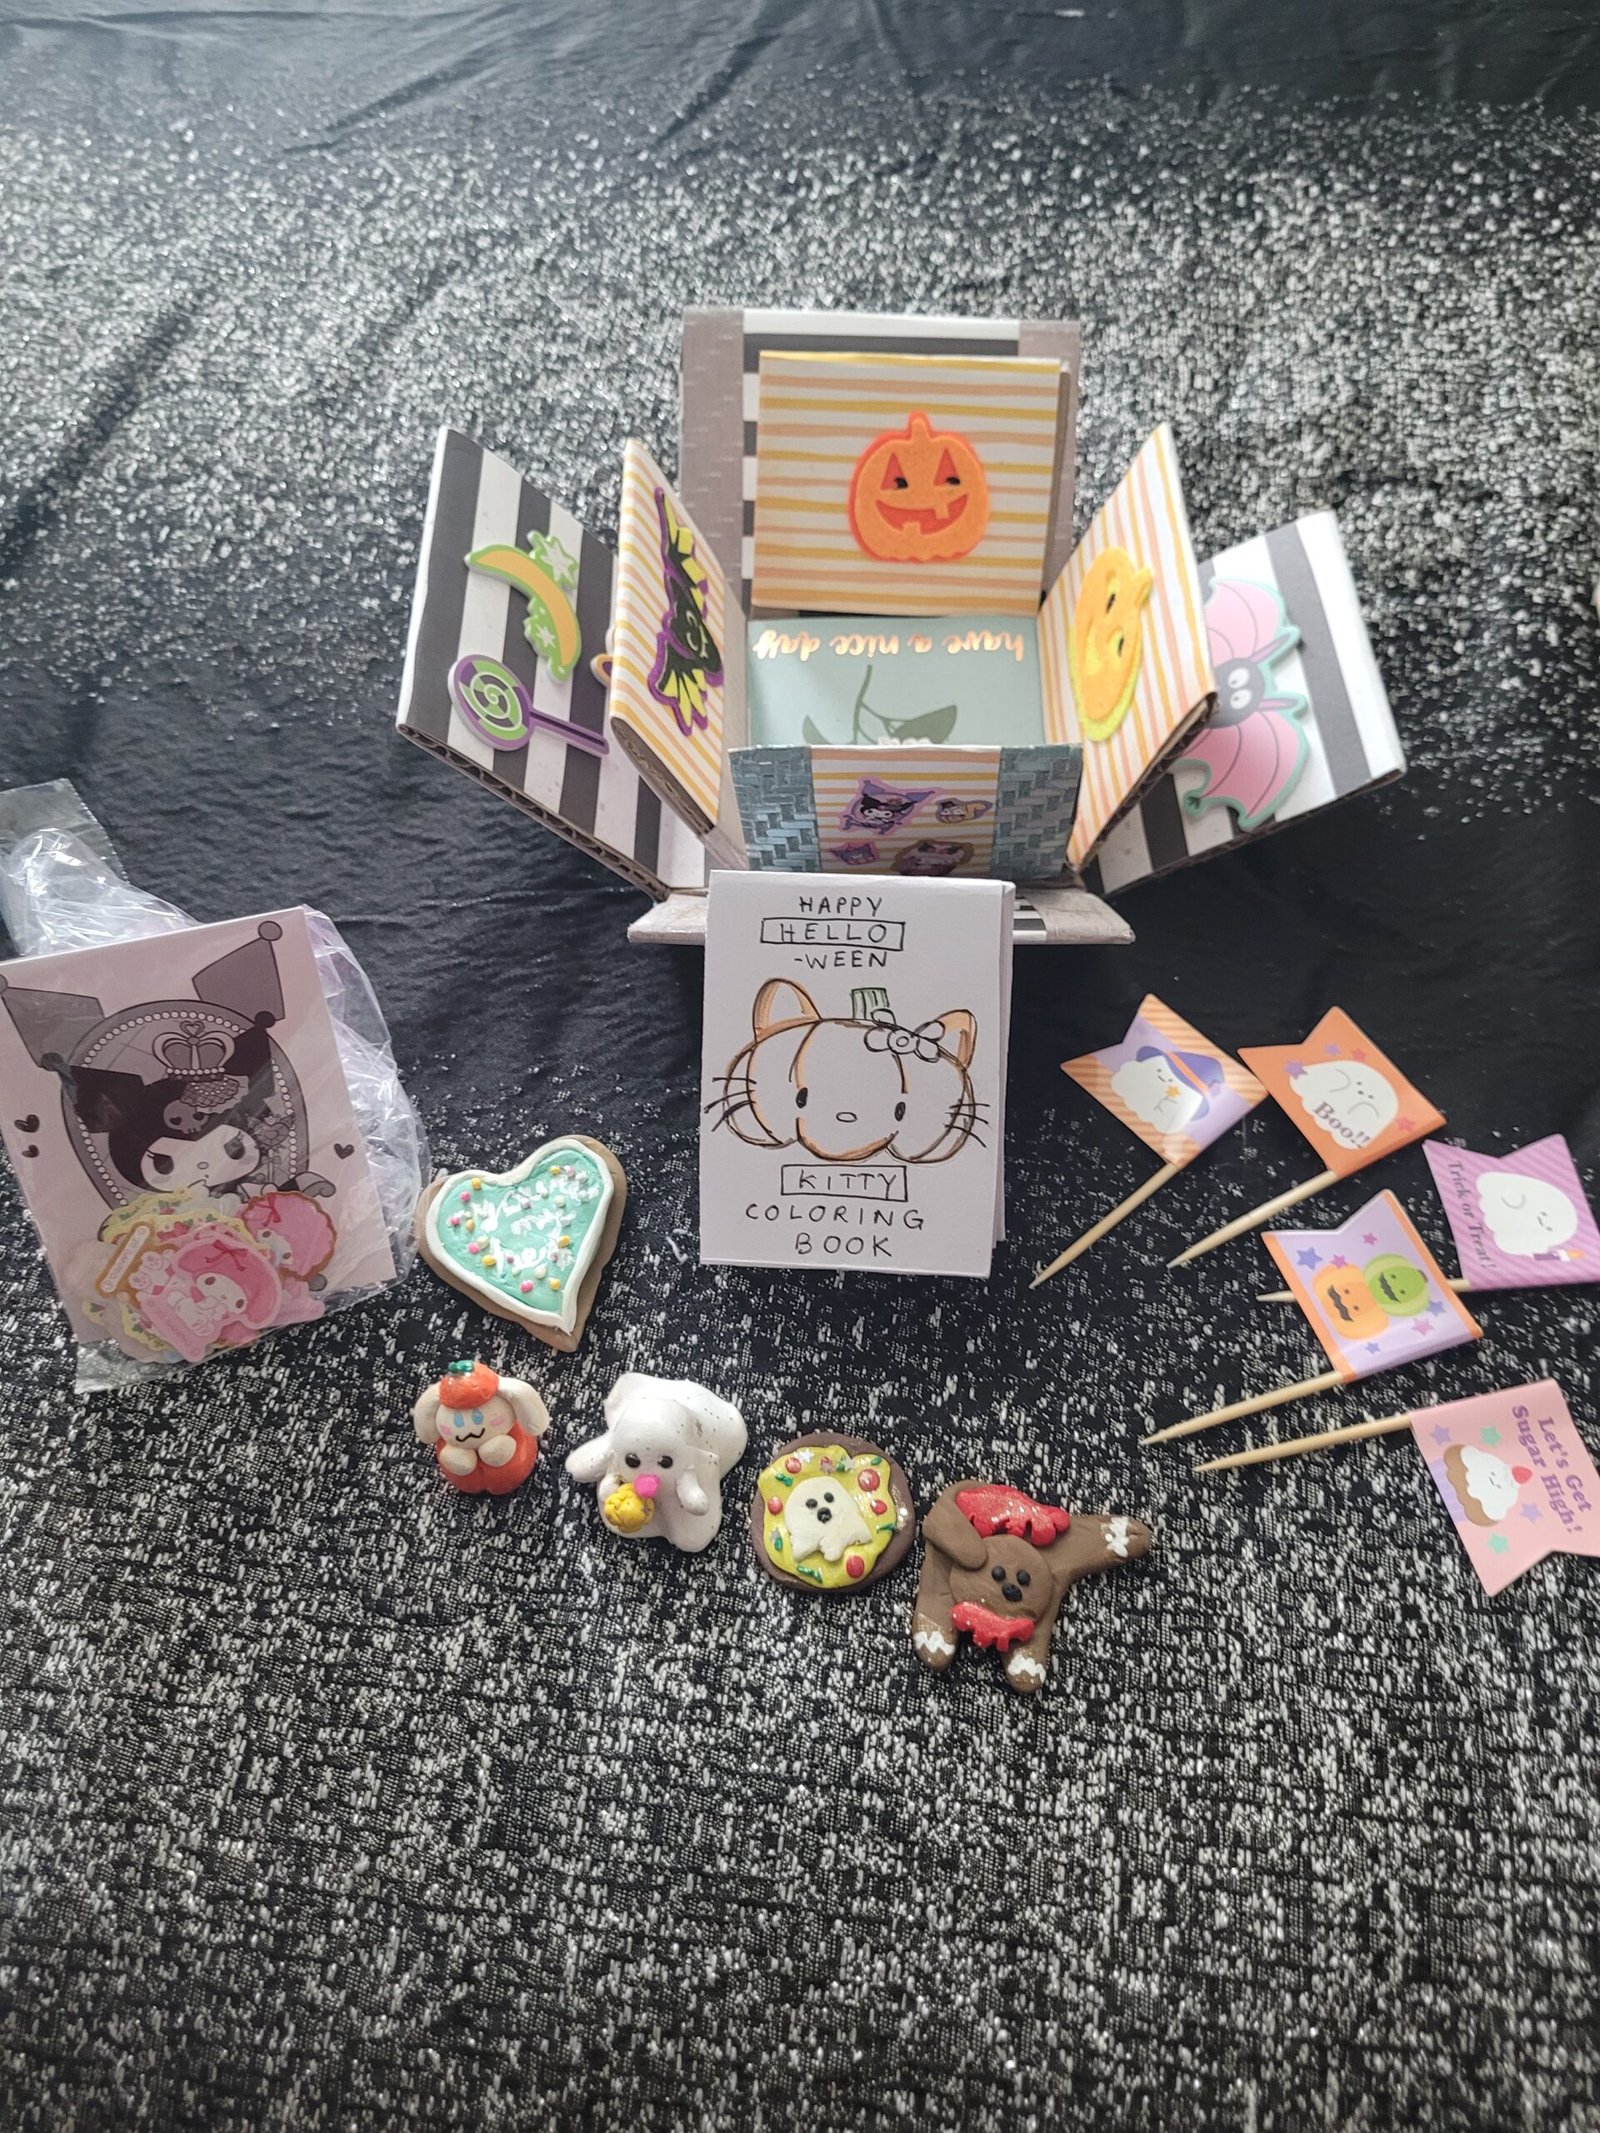 Wah-lah!!! Kawaii Halloween Exploding Box!!!